Research and Ideation Inspiration
After some clarification, I understood that it would be good to have a human component in the scanned object. I had been thinking about creating an object to photograph at the beach, a creek, a storm drain, in the forest. So my mind went to tree pose in yoga. Initially I envisaged a ballet pose and realised it was tree pose I was thinking of.
My idea is to have a scan of myself in tree pose and modify it in meshmixer by replacing my lower half with tentacles or roots.
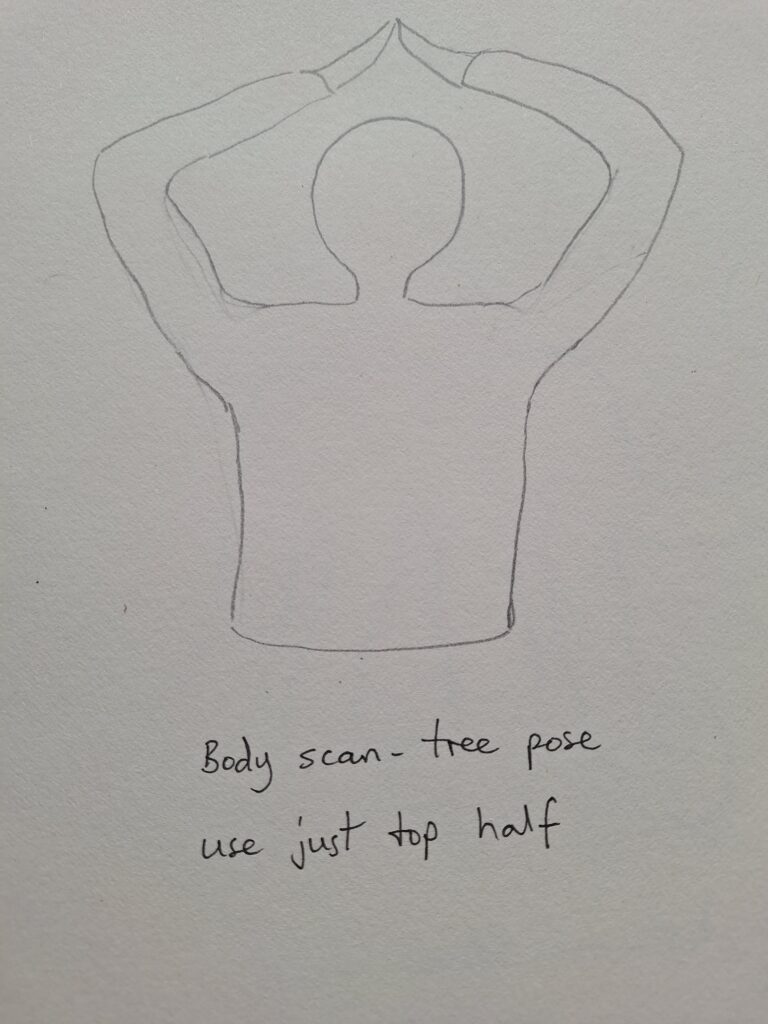
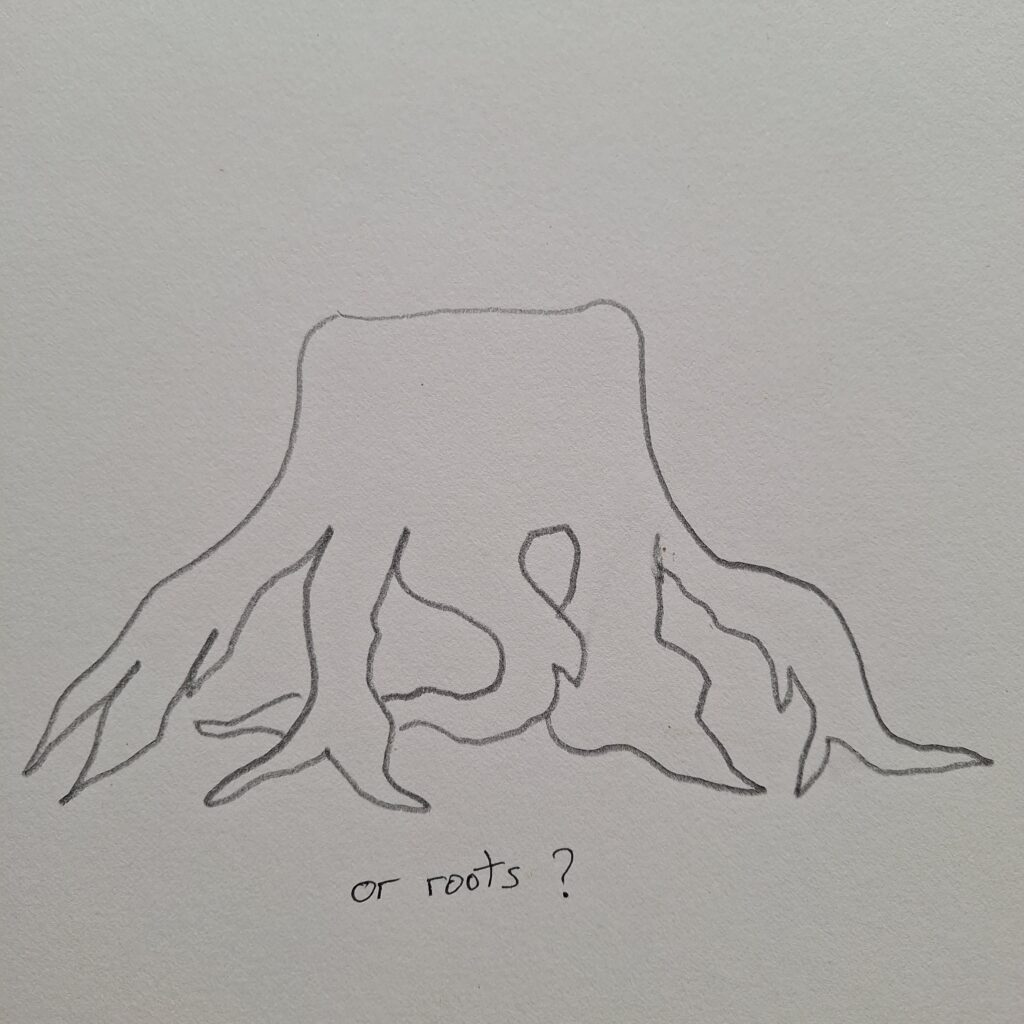
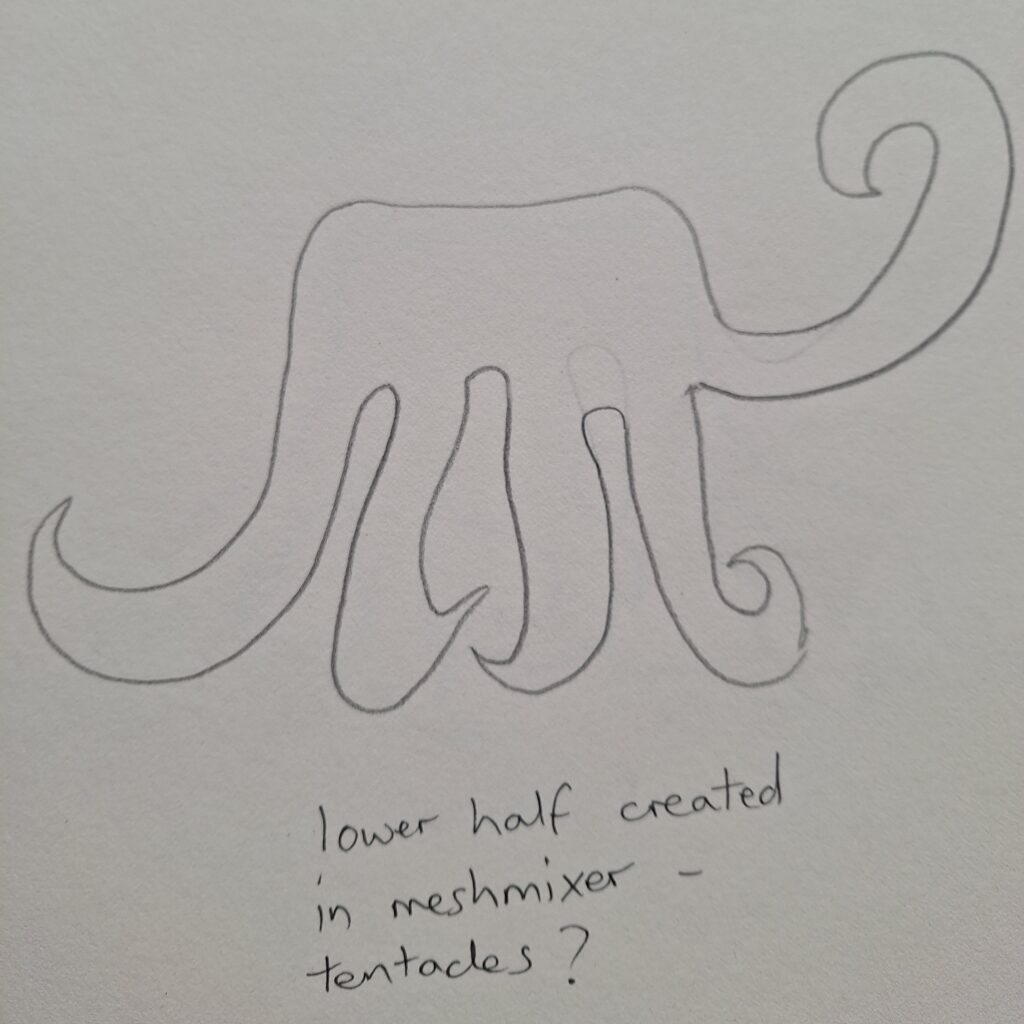
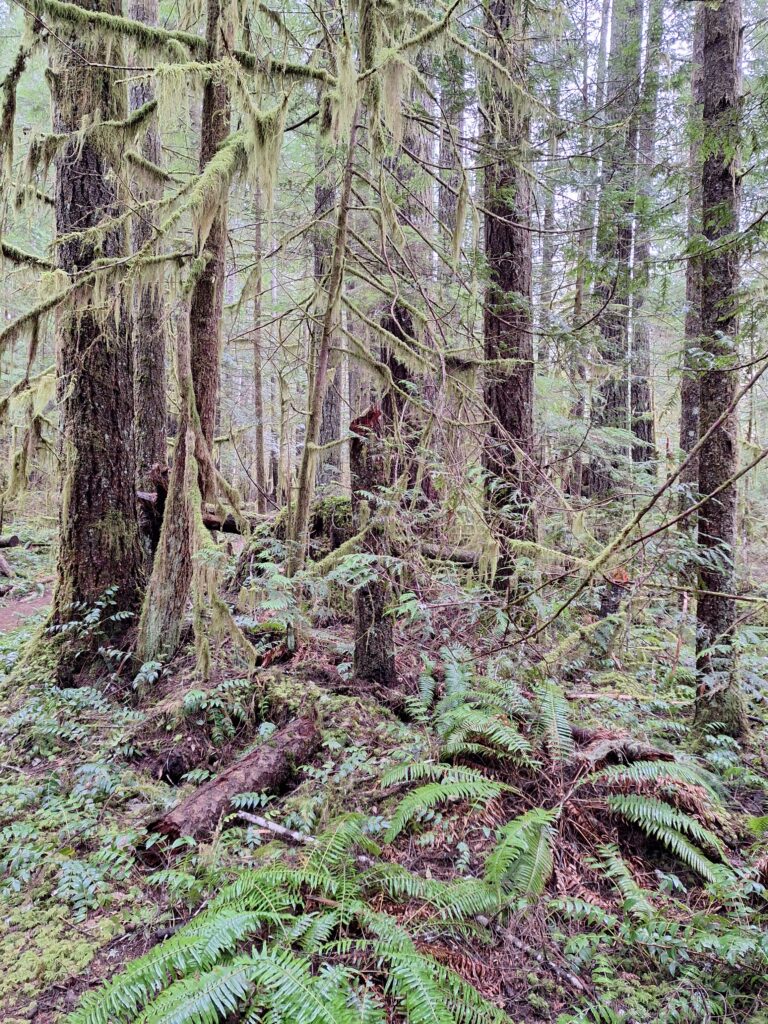
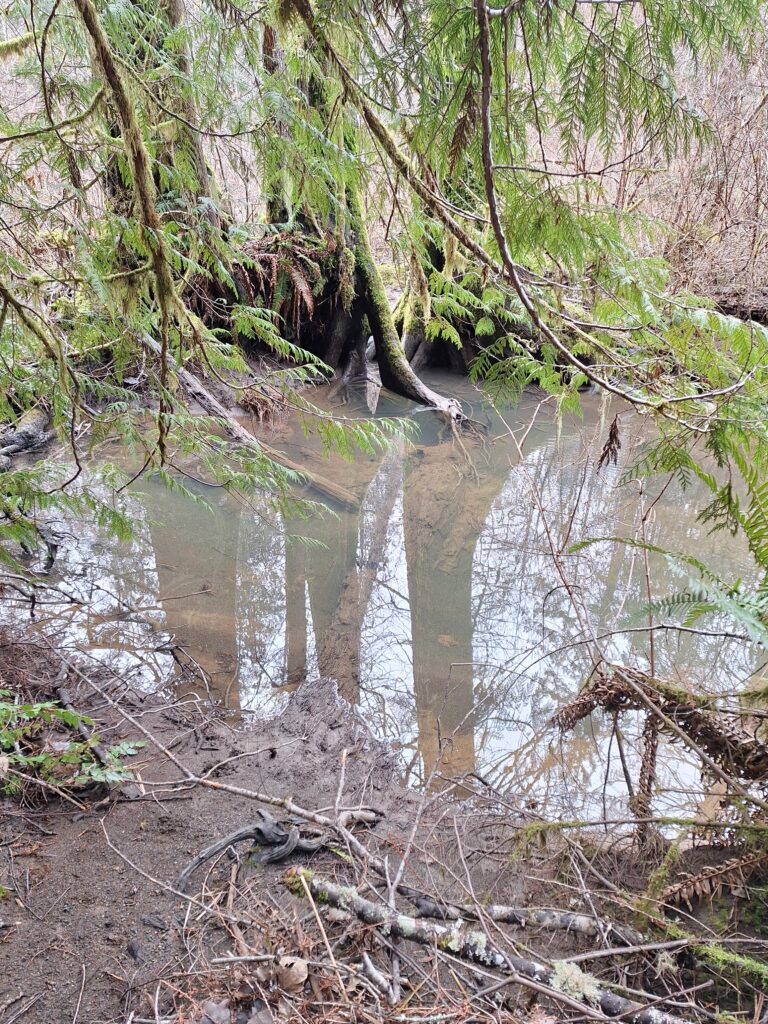
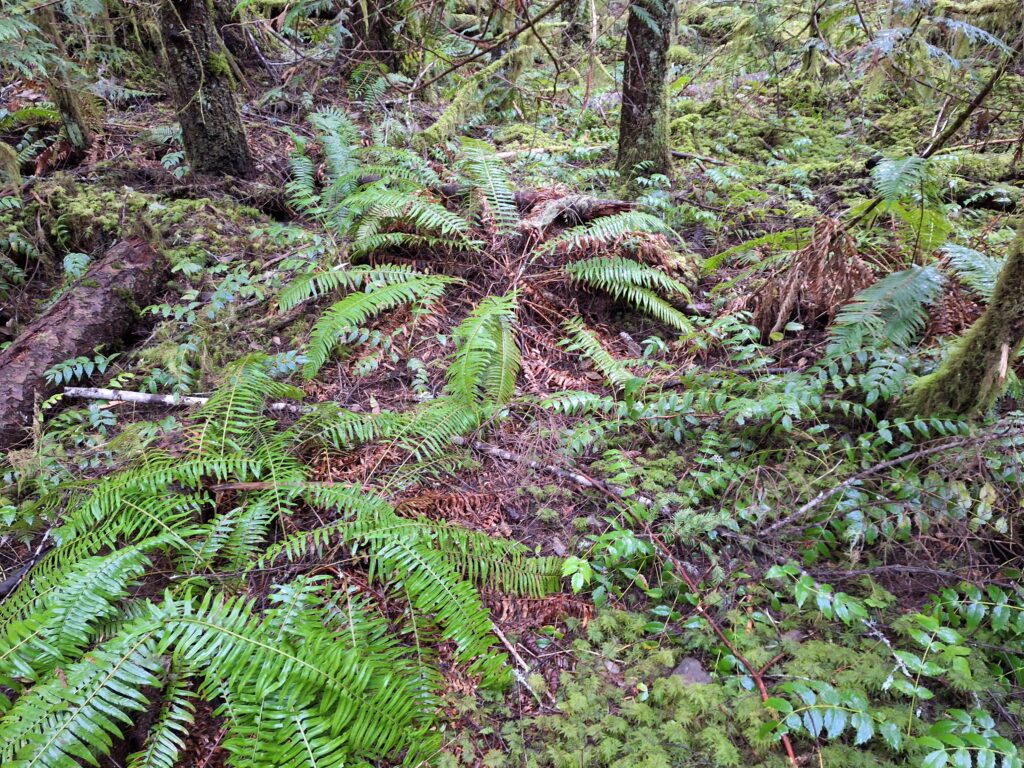
As I explored my theme more, I was drawn to the idea of ‘putting down roots’. Having recently moved to Cumberland, this is especially poignant for me.
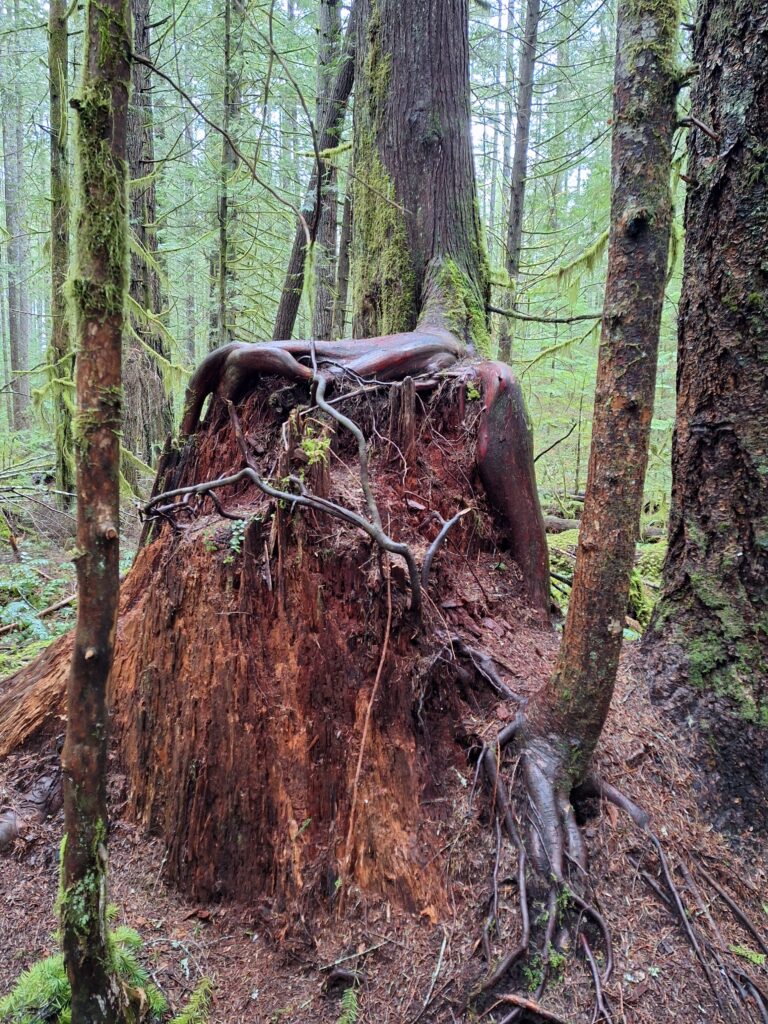
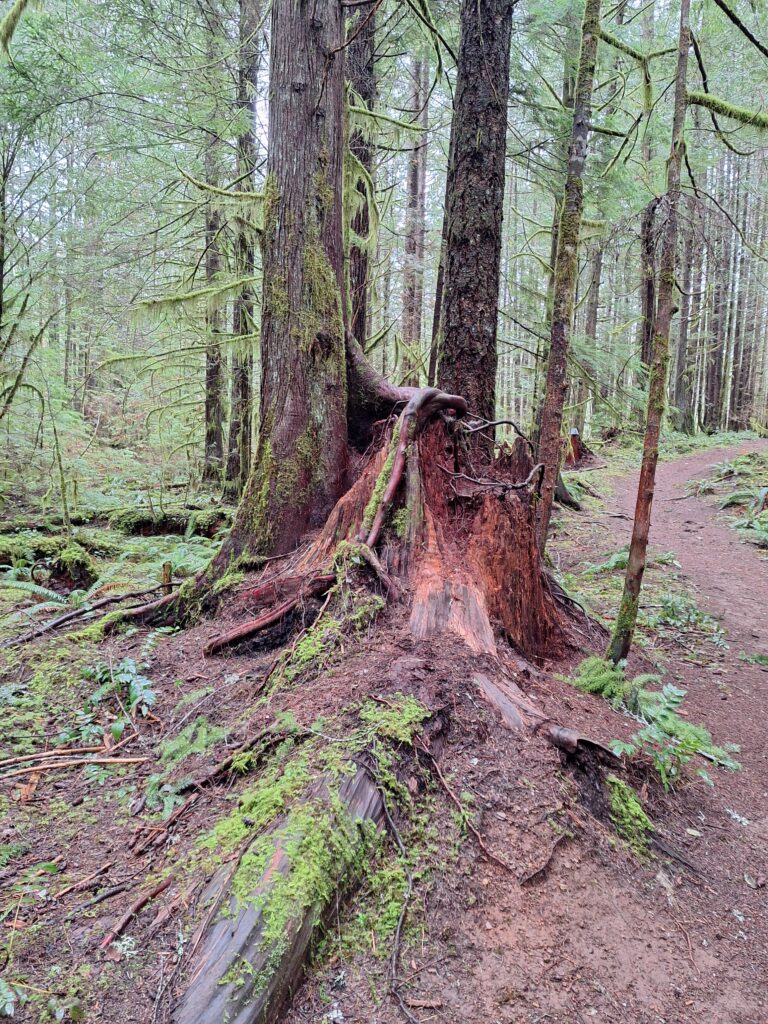
As I get to know more and more trails, I came upon a nurse stump on Martha’s Trail, which gave me more ideas about how to sculpt the root system on my model. Nurse stumps support new plants, including trees and the new root systems often end up embracing the old stump as they reach to the ground.
Making the model
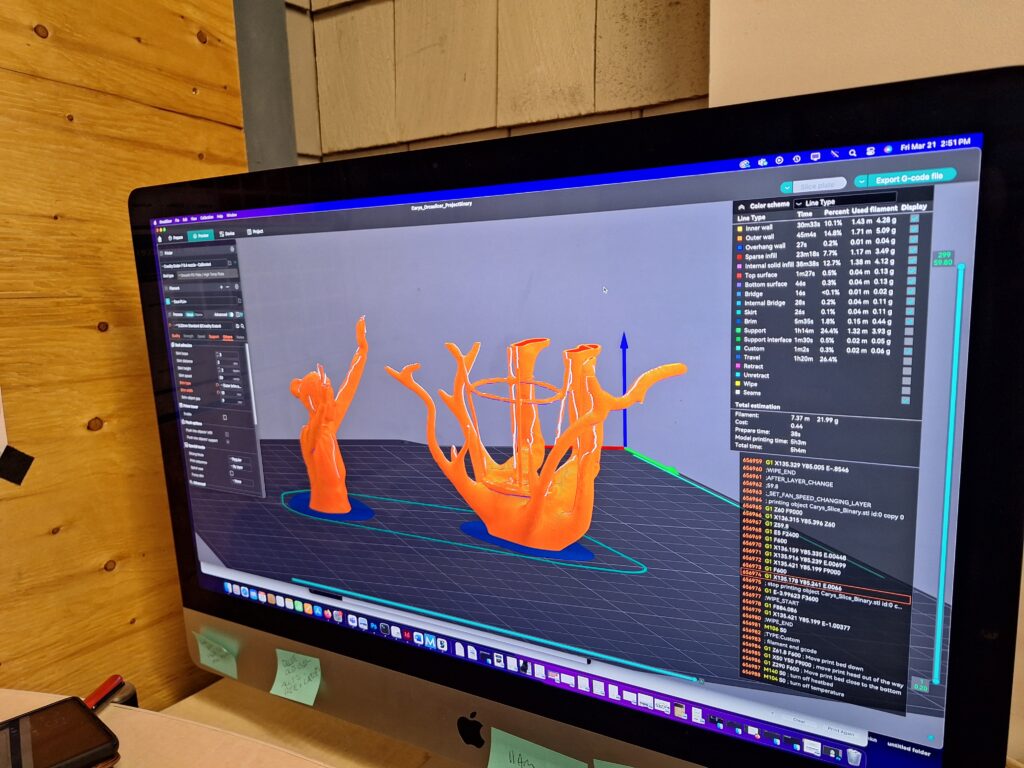
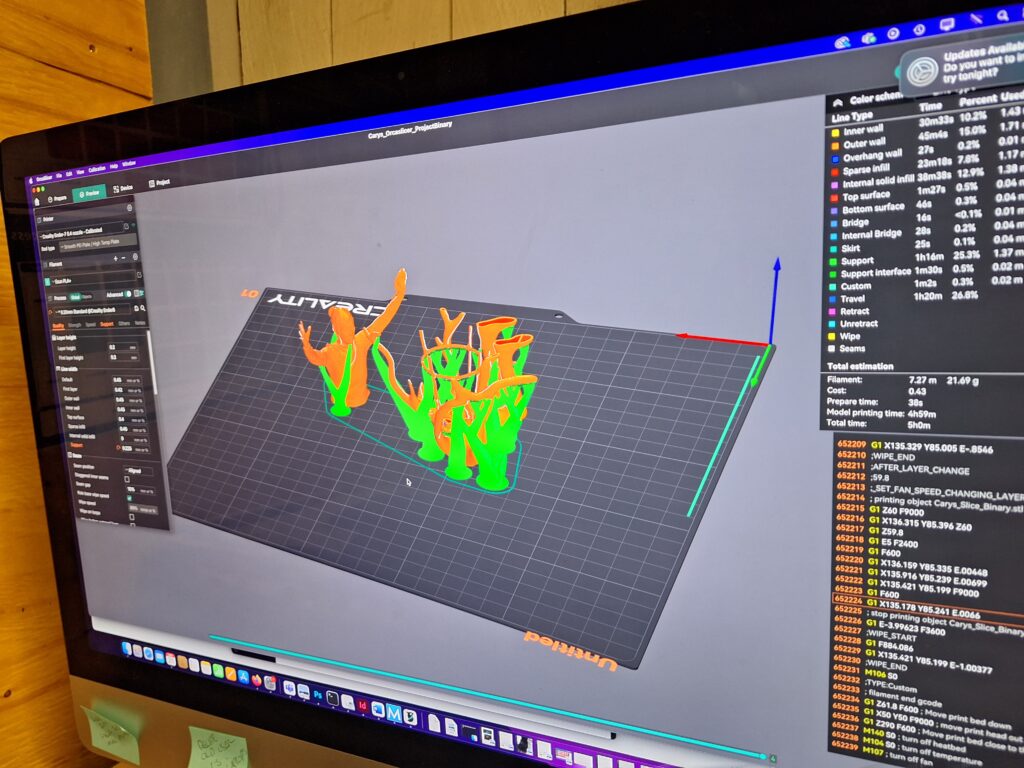
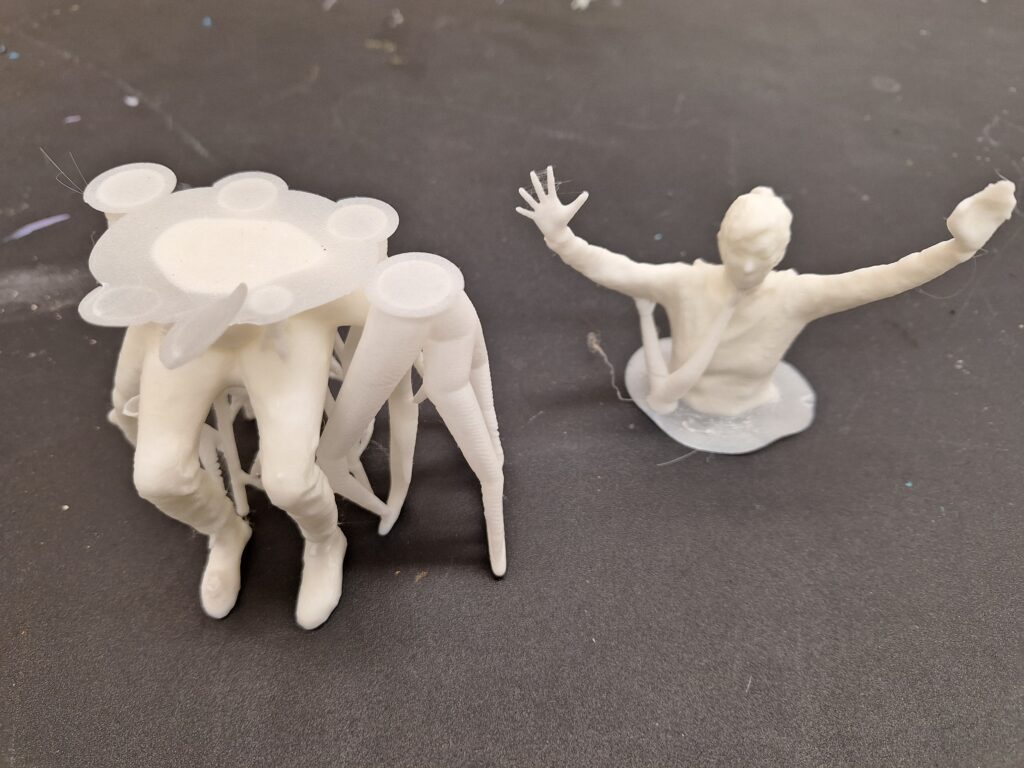
I chose a tree pose and ended up being seated so my partner was able to fully scan the pose – reaching up to my hands was a stretch. I held a long dowel in both hands- connecting them in an effort to keep still. The scan was made in Polycam and then moved into meshmixer for sculpting. This was the first time I’d added to a model in Meshmixer and creating the roots was very enjoyable, once I figured out the best way to use the ‘drag’ tool.
The next step was to use Orcaslicer to prepare the file for printing. When I did this, the tree supports (that enable the 3d printing process) looked very interesting. However, once the file was submitted, it was necessary to alter it to print in 2 parts. This meant that the the tree supports no longer appeared integrated with the model. So my original plan to possibly leave the supports was changed. I was able to easily remove the supports.
The next step was to smooth the edges on the model, especially at the joining point on the waist. I used a strong adhesive to bond the parts and left it to cure for 24 hours. After this time, I primed the model with a grey primer. Once this was dry, I set to painting the model. I used colours reminiscent of the forests near my home- using several different greens and browns. I wanted my character to be ‘of the forest’ so even her face is green. One of the hands was distorted and I left it that was as it reminded me of a leaf. The other hand was actually applied in Meshmixer.
I also used a technique called dry brushing to lay fine layers of colour to the contours of the model- creating more depth and texture. Photos of my finished model can be seen on the next page.
