Technical Exercise 01- Collaborative Skill Building Project
Theme #1: World Within, Space Between (1-part plaster mold from model (picture frame), clay cast multiples – underglazed/glazed, and raku fired
I chose this picture frame for the interesting shapes but blurred some of them out with clay to give a distressed look and to create more of a blank canvas for the project.
The frame was glued onto a board and 4 coddles (2inched deep) were glued around the outside- allowing an inch and a half border around the frame.
I followed a series of measurements and calculations to find out how much plaster and water to mix together to pour into the mould.
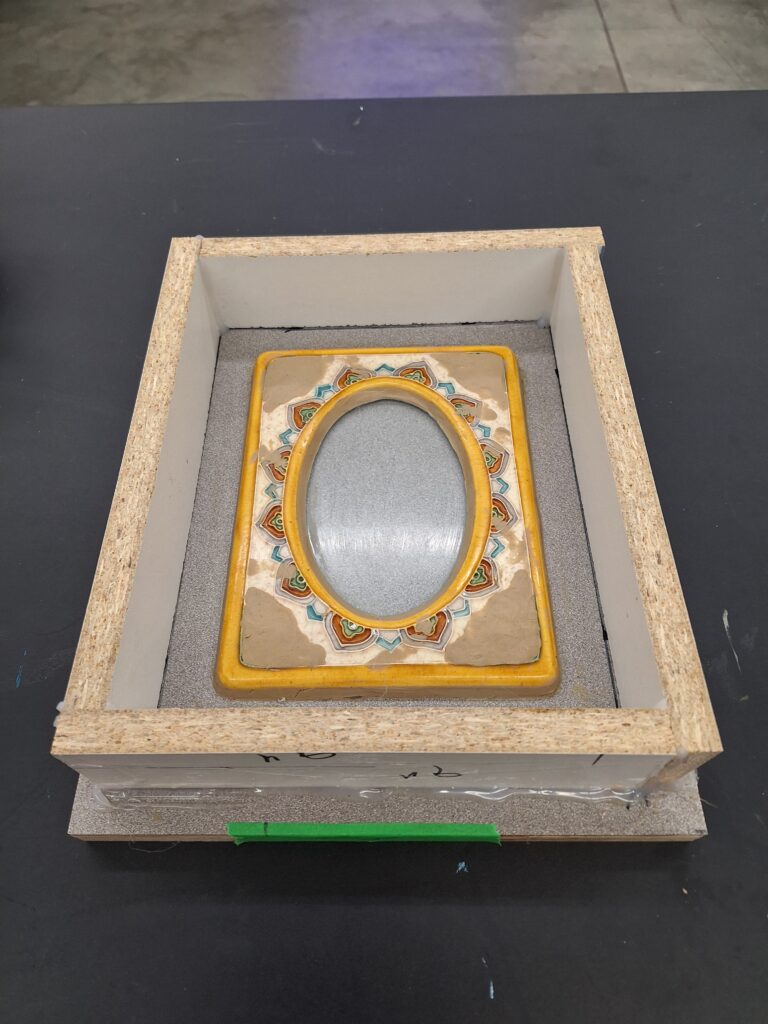
After pouring plaster into the mould, I waited a day and then took off the coddles. I discovered an air bubble in my plaster but will be able to resolve this during the next step- using clay.
After removing the coddles, I smoothed the edges of the mould using a scraping tool and then washed it using a scrubbing pad. Finally I left it on the rack to dry for 6 days.
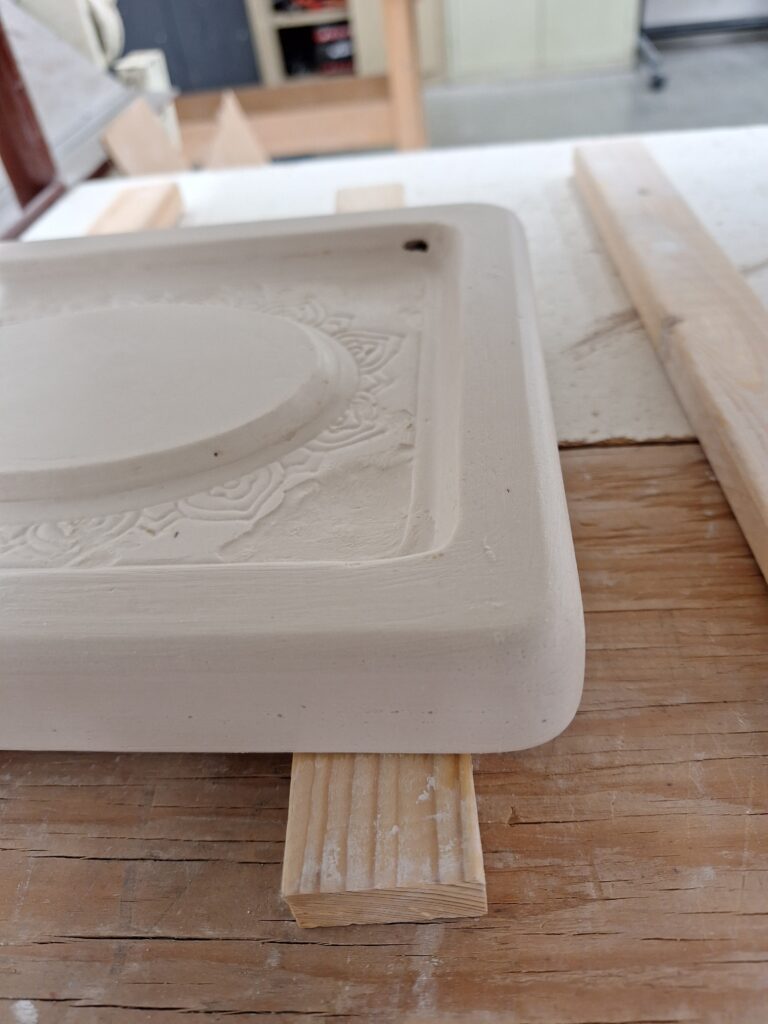
The mould was left to dry for a week. Then we rolled out clay and pressed it into the mould. A metal hook was created from wire and pressed into the back for display purposes. After about 30 mins, the clay was released from the mould and tidied up using a damp sponge. This process was repeated several times and the clay was left to dry for a while.
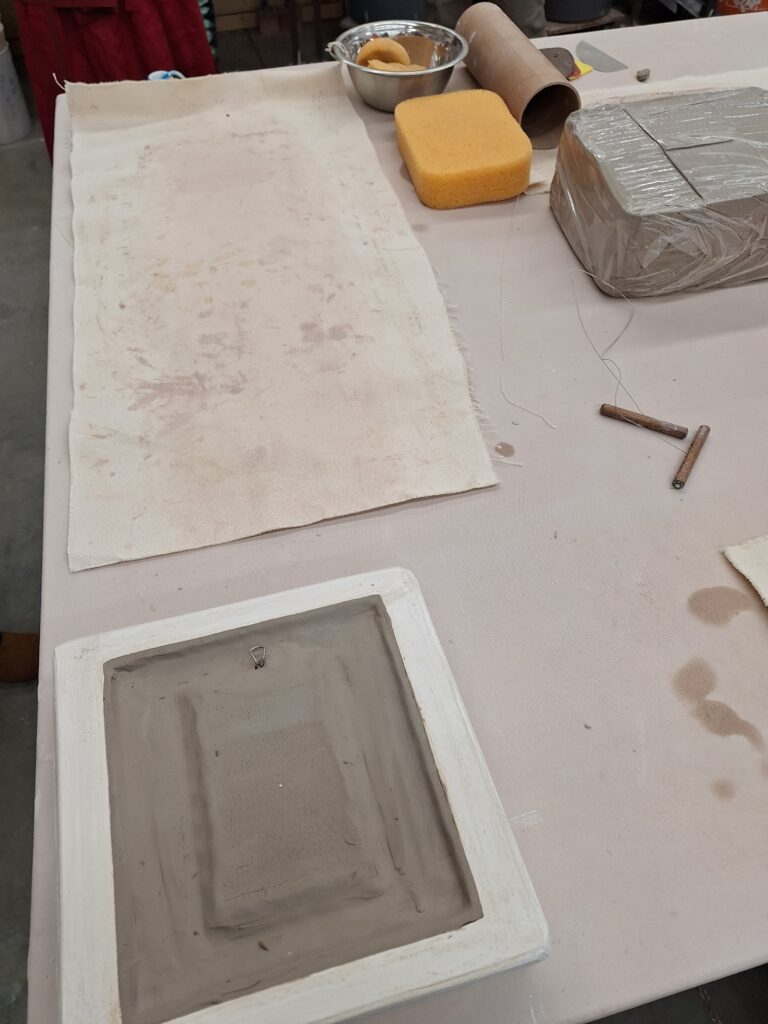
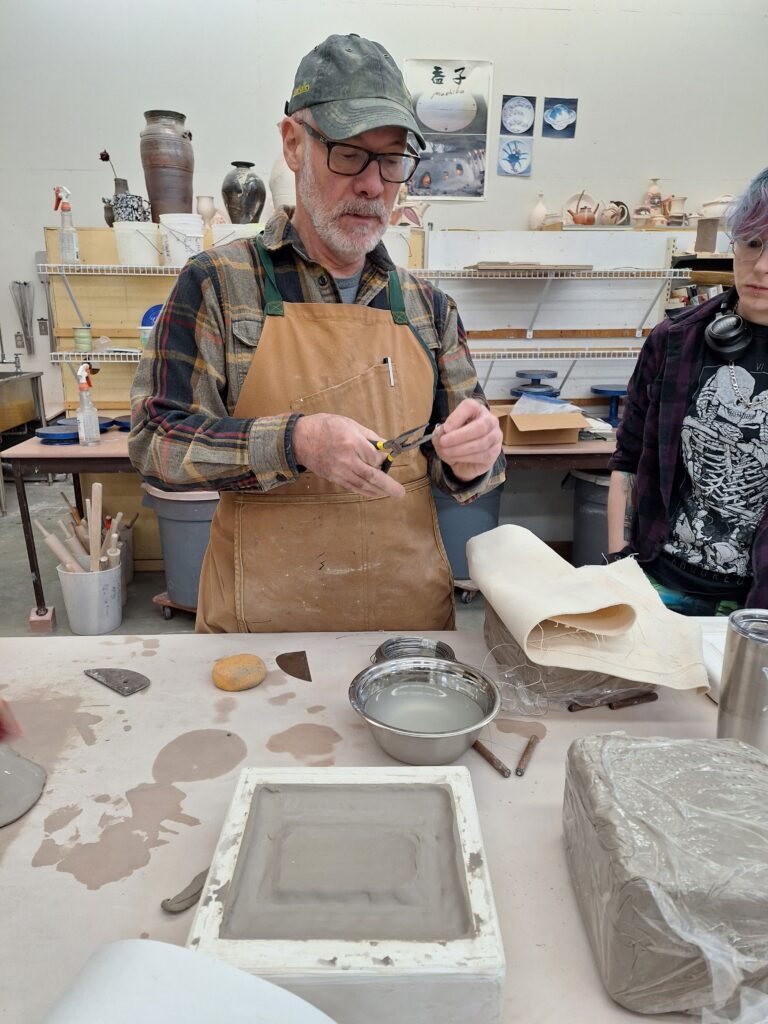
Making the metal hanger.
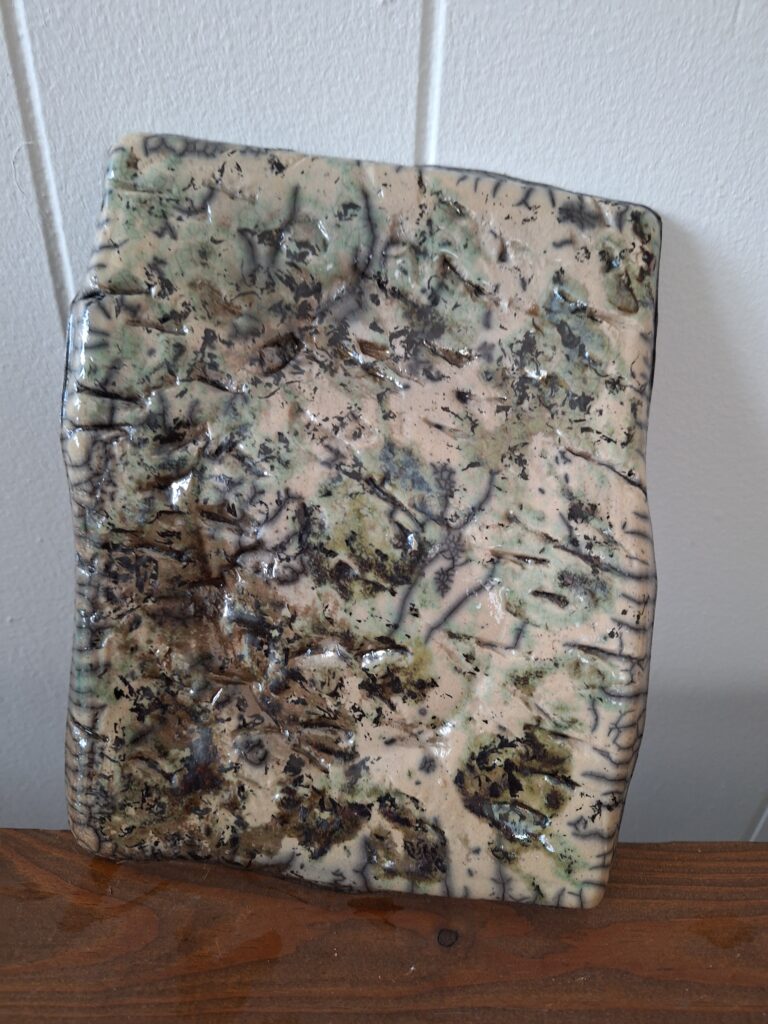
This week I put three of my clay frames in the kiln. I made two more and used rocks to texture one and stood on the other to get a footprint (through plastic).
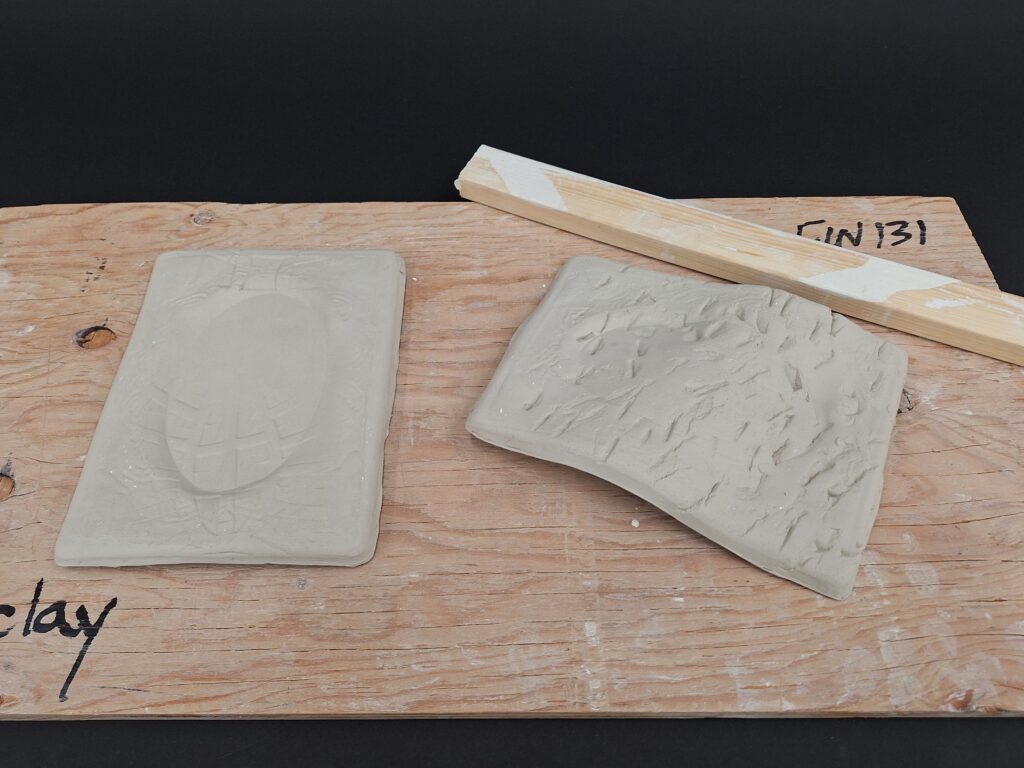
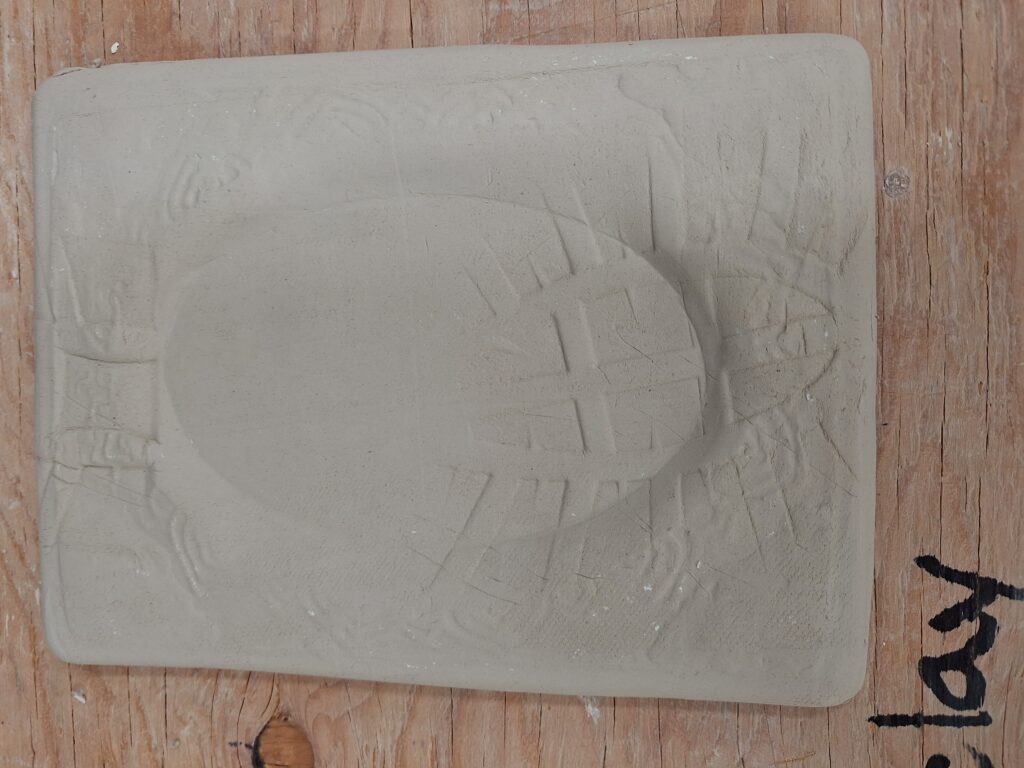
Waiting to be fired. The footprint came out well and I look forward to seeing if these frames will fare in the raku process.
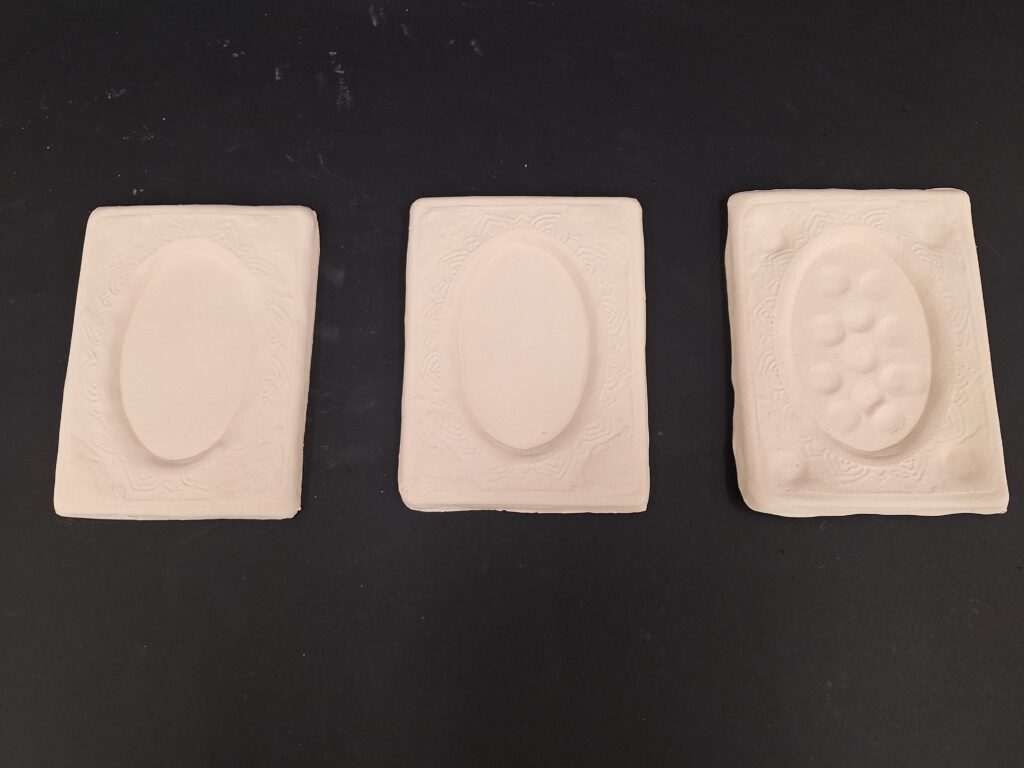
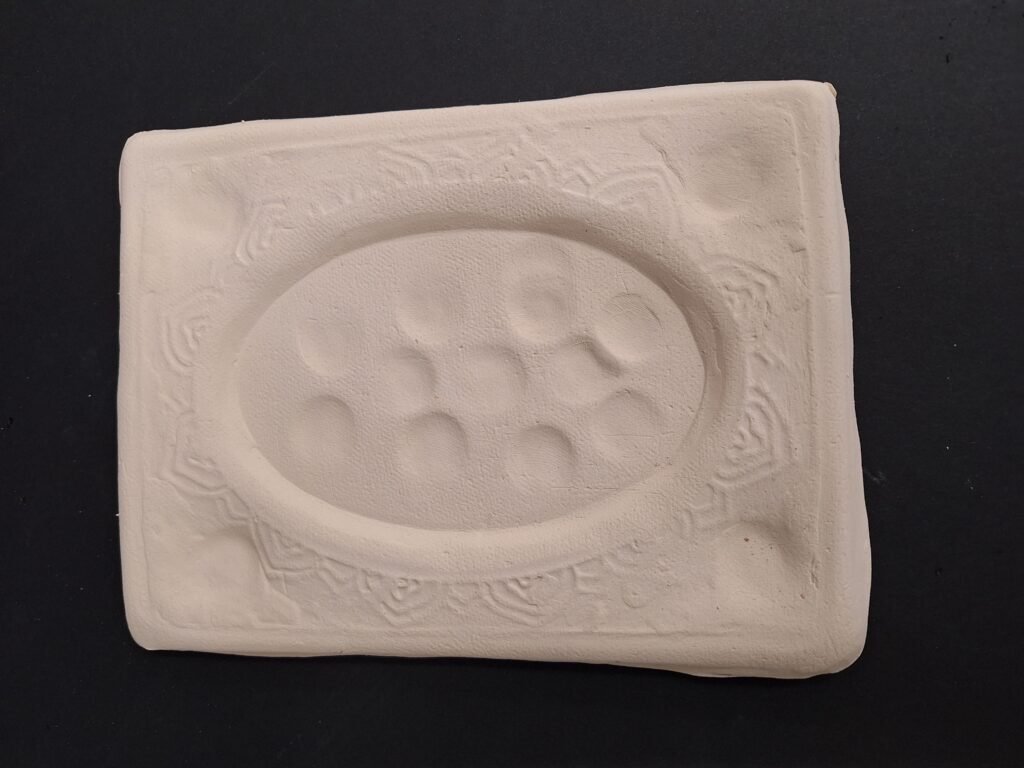
Bisque fired. Ready for glaze or naked raku. I plan to do a mix of these raku techniques. I have been thinking about what kind of combustibles to use and might try some sugar and some animal hair or human hair (mine). This is a very exciting and intriguing project for me.
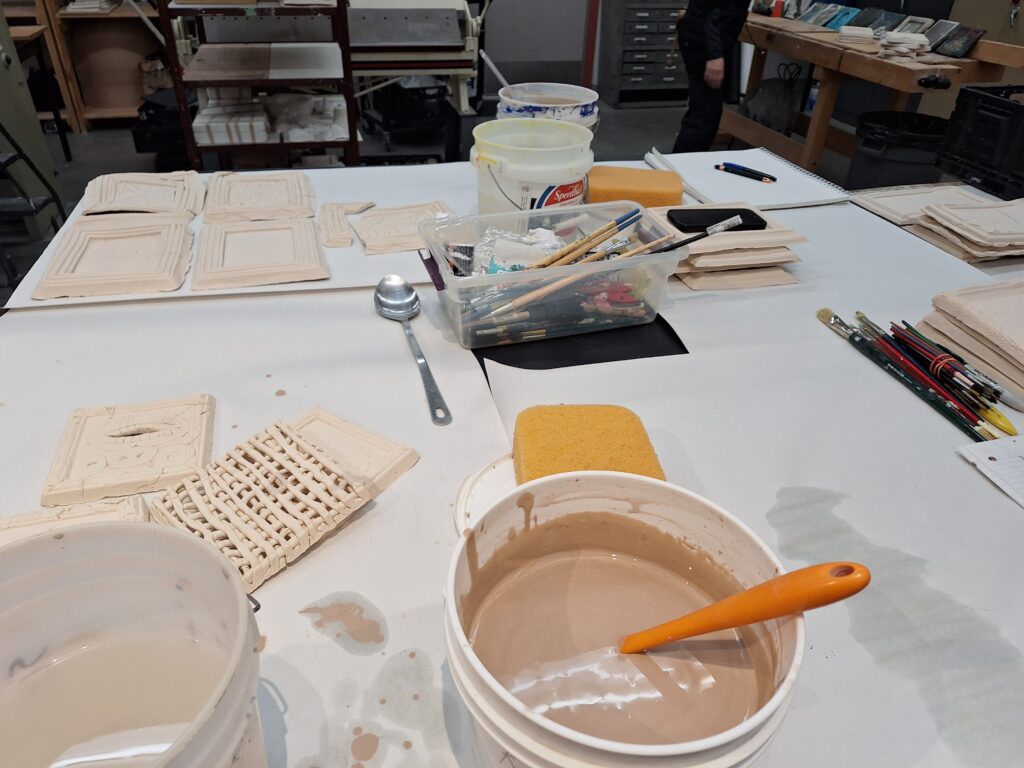
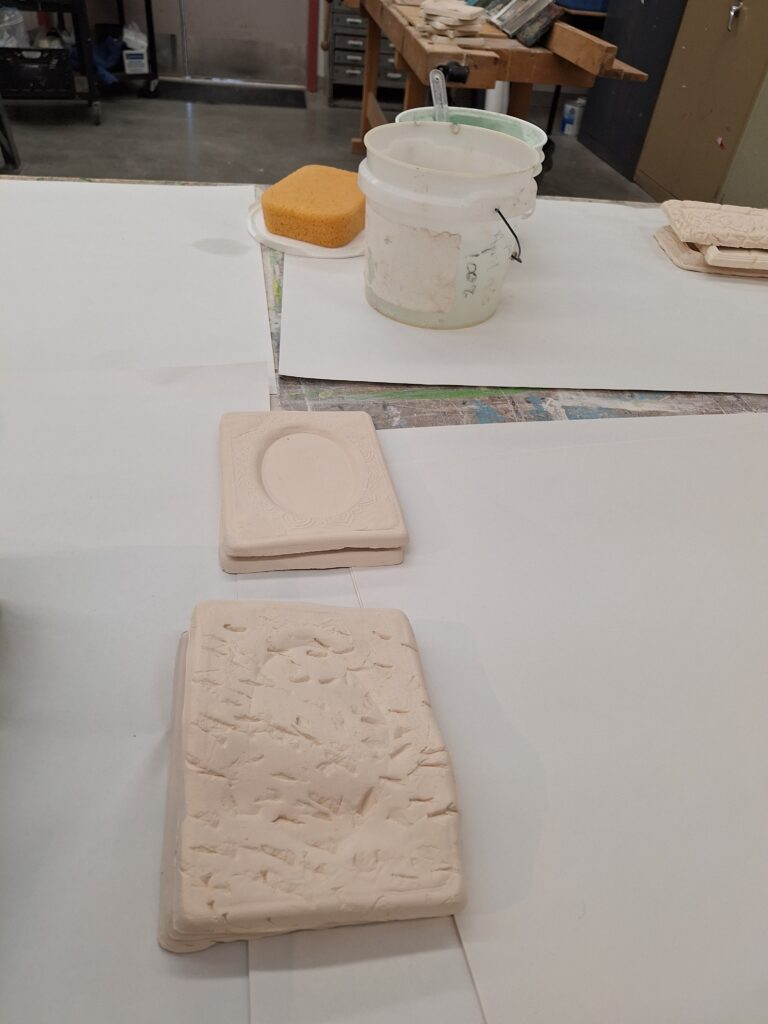
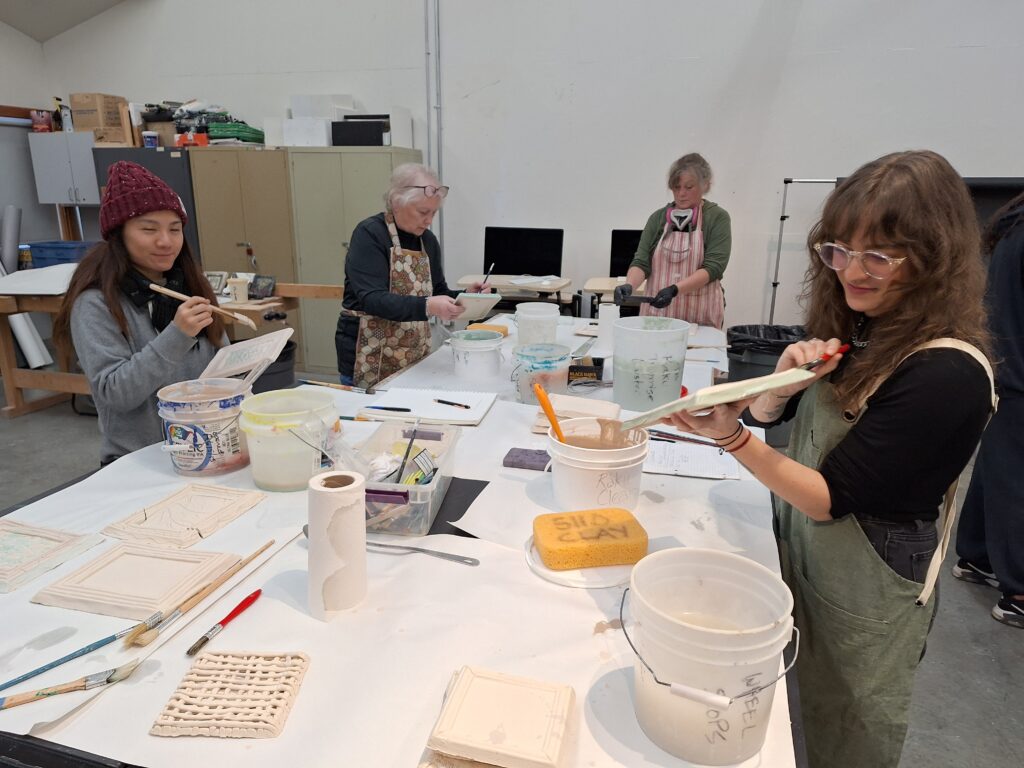
We applied glazes to our bisque fired frames in preparation for raku firing. I used a transparent gloss background on one and a matt white background on the others. I used turquoise glaze in brush strokes on one and copper glaze in splodges and brush strokes on the others.
Raku Day!
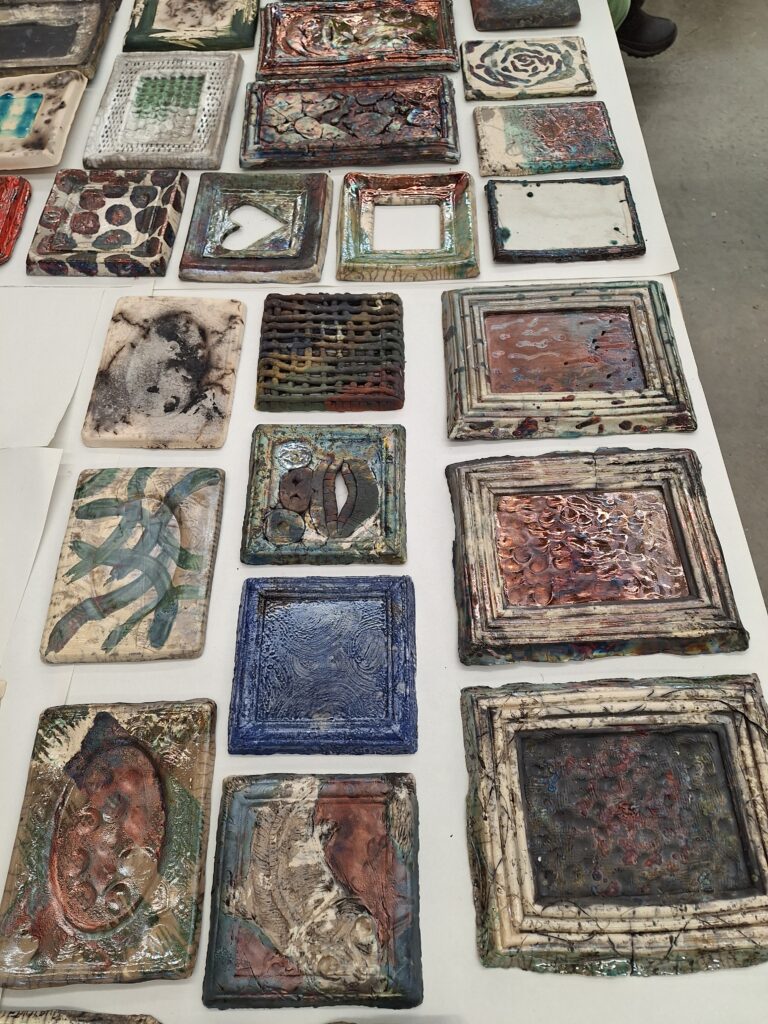
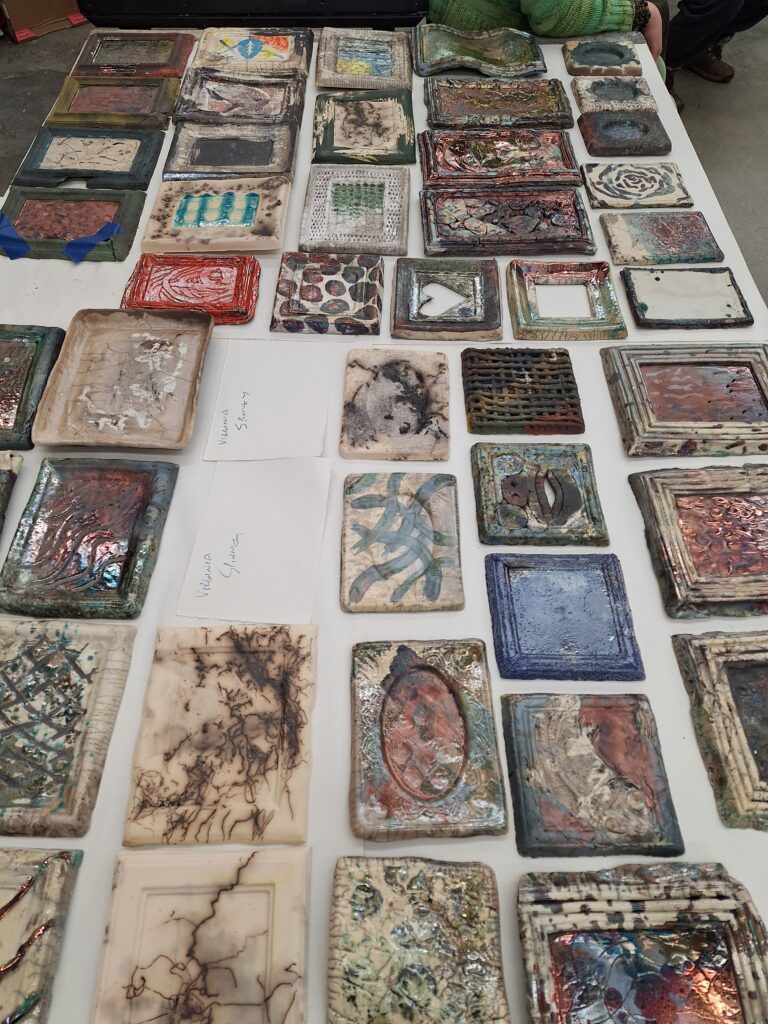
The class worked together to achieve multiple raku firings. Most of the frames were already glazed so these were heated in the kiln then placed in the reduction bins with layers of combustibles (sawdust and straw). After ignition, the lids were replaced and damp towels were draped over them to keep the smoke in and enhance the process.
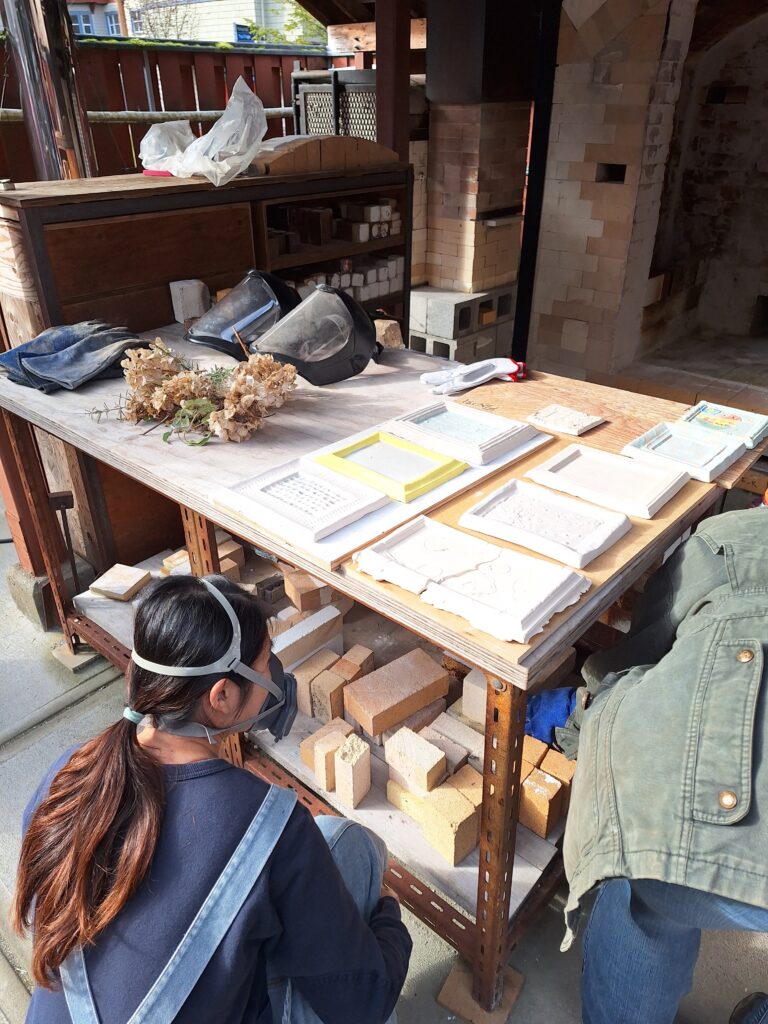
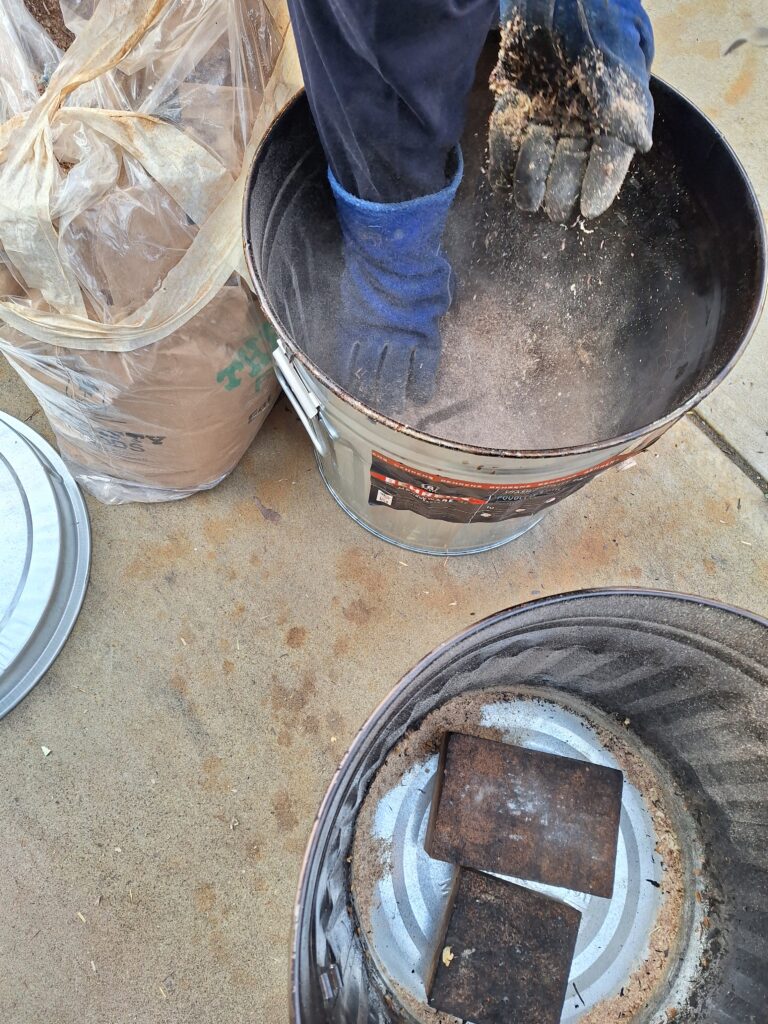
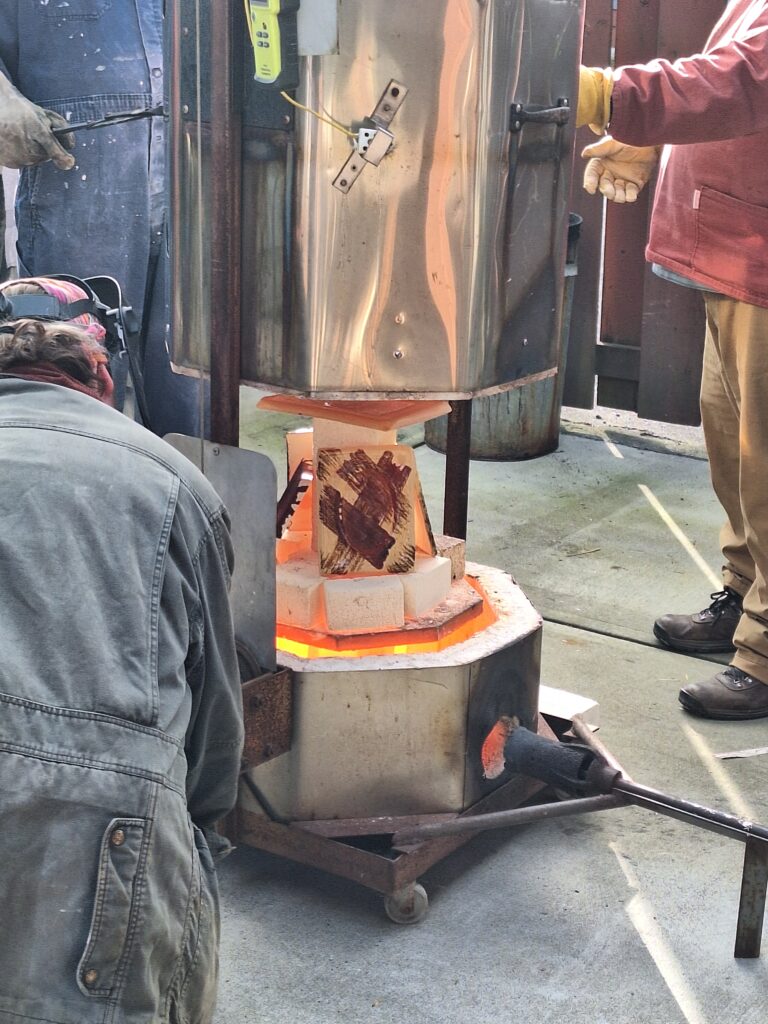
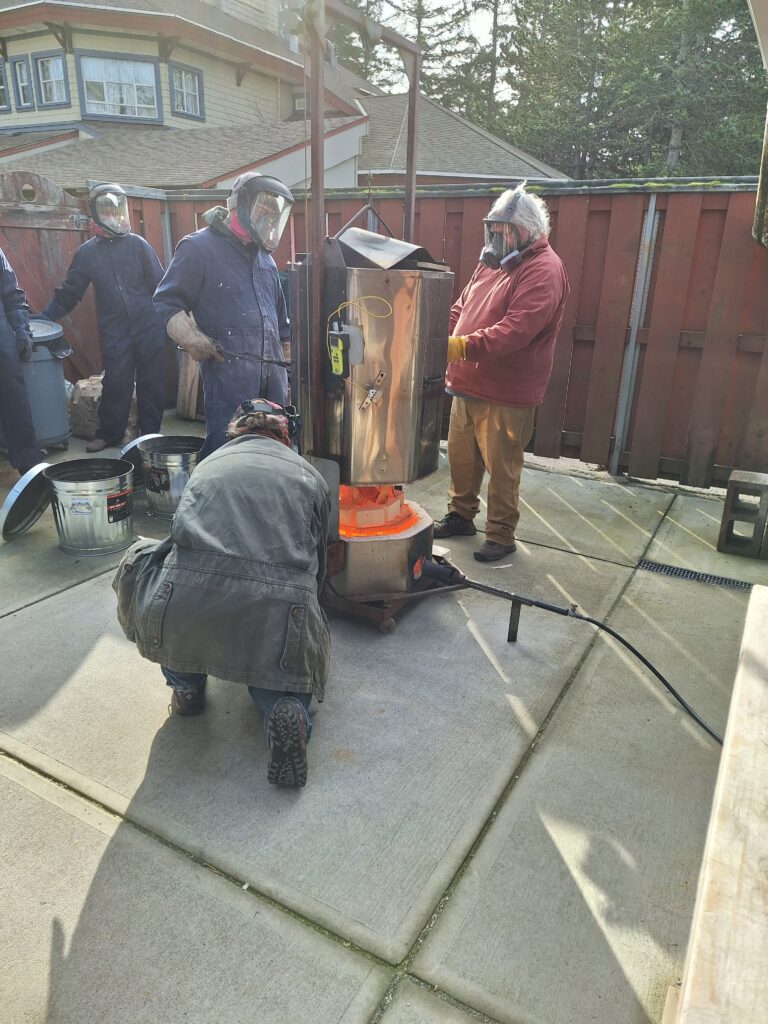
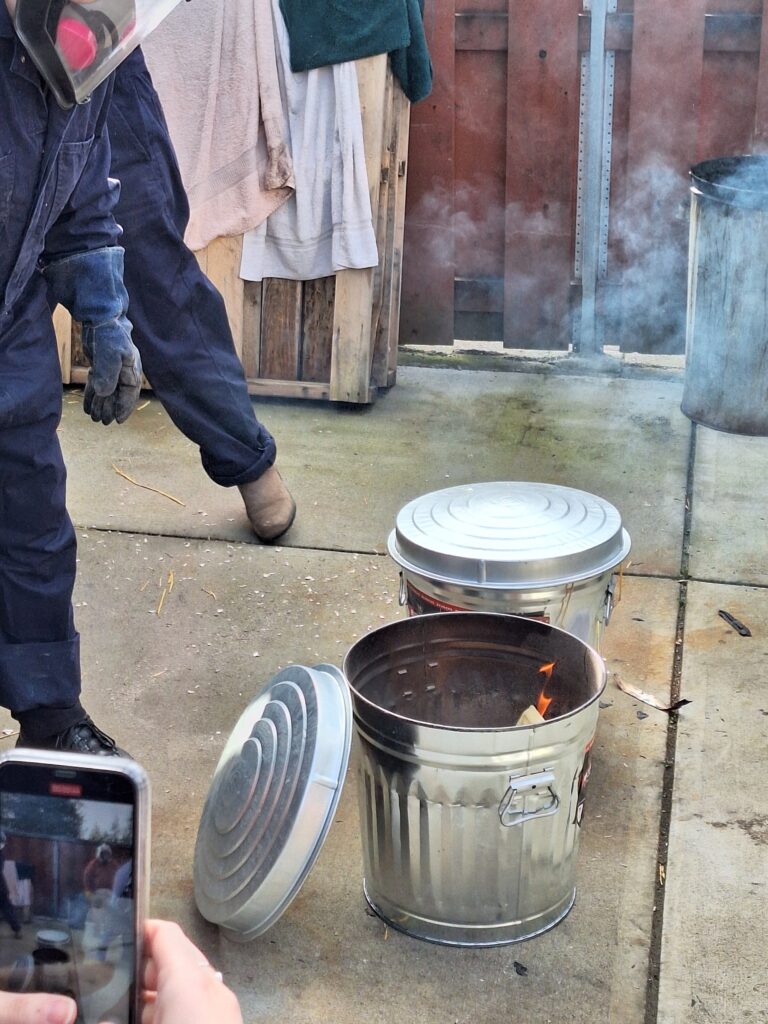
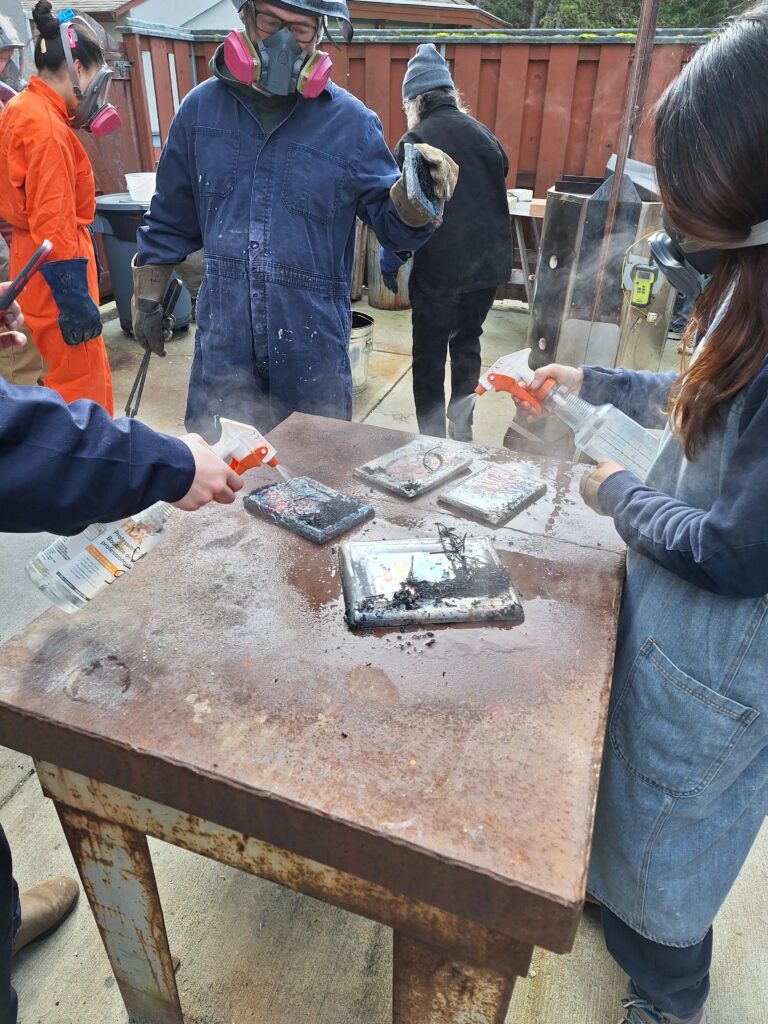
I was amongst some of the students with unglazed frames so we were able to experiment with naked raku by adding specific combustibles directly to the heated frames. I applied sugar, hair and dried flowers. I didn’t get the definition I’d hoped for but the resulting shadows and darkening are very interesting.
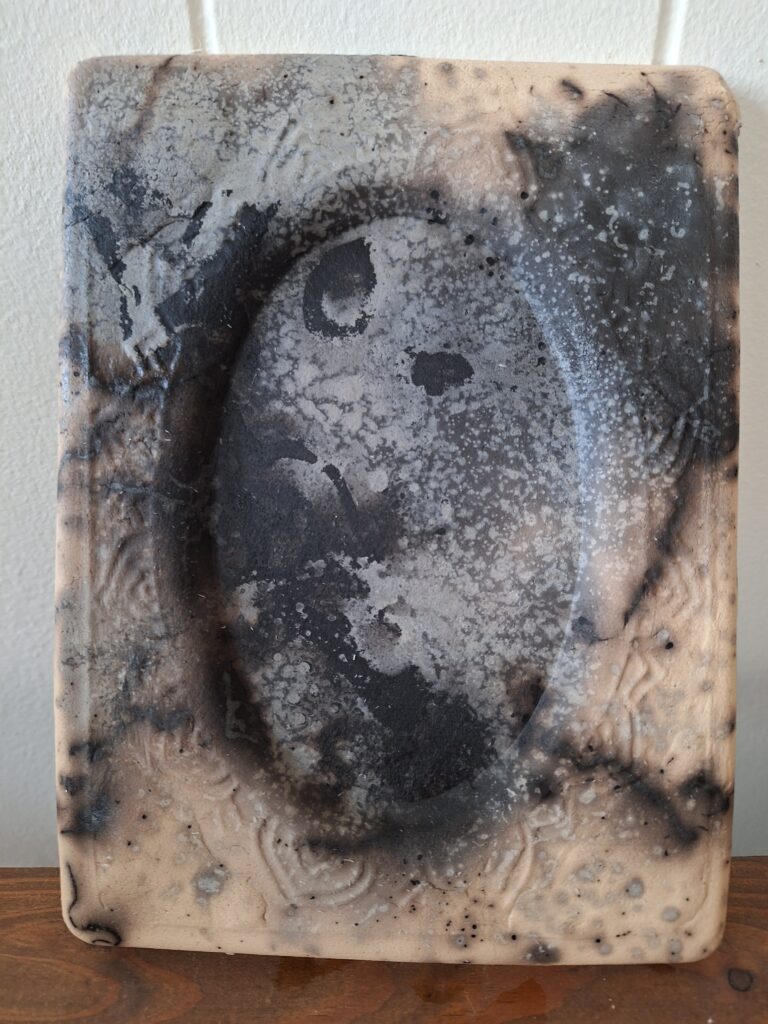
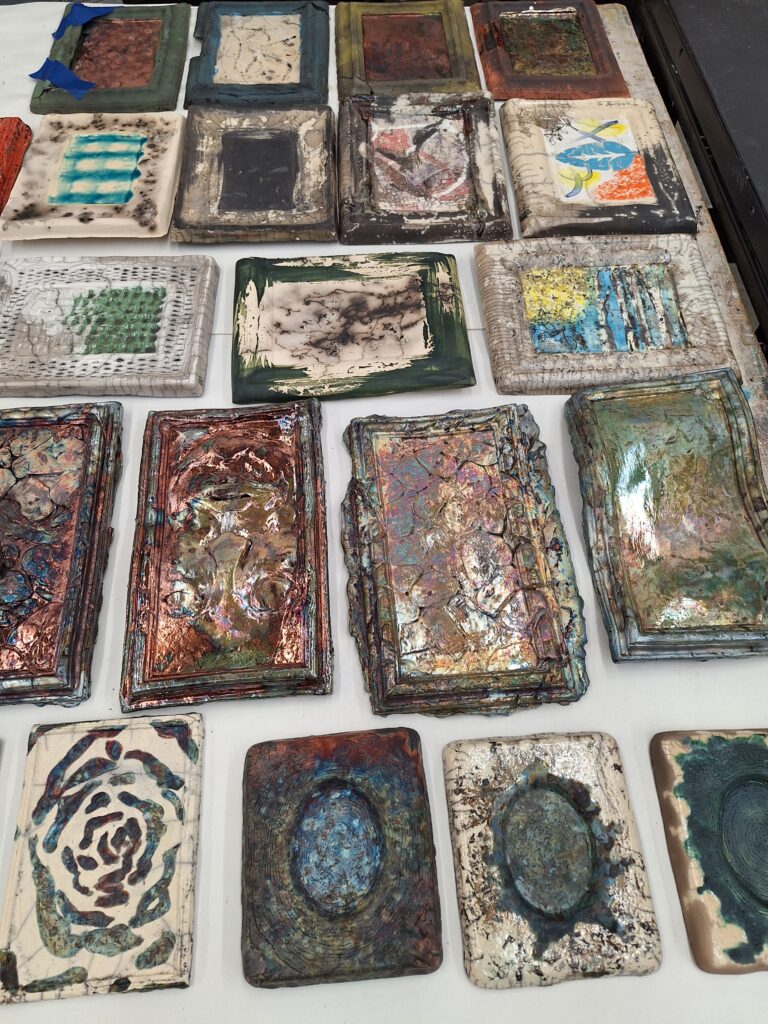
I fired three of my frames- two glazed and one unglazed. I especially like the reaction of the copper with the flames. It was pleasing to see the brush strokes I’d made in the finished piece.
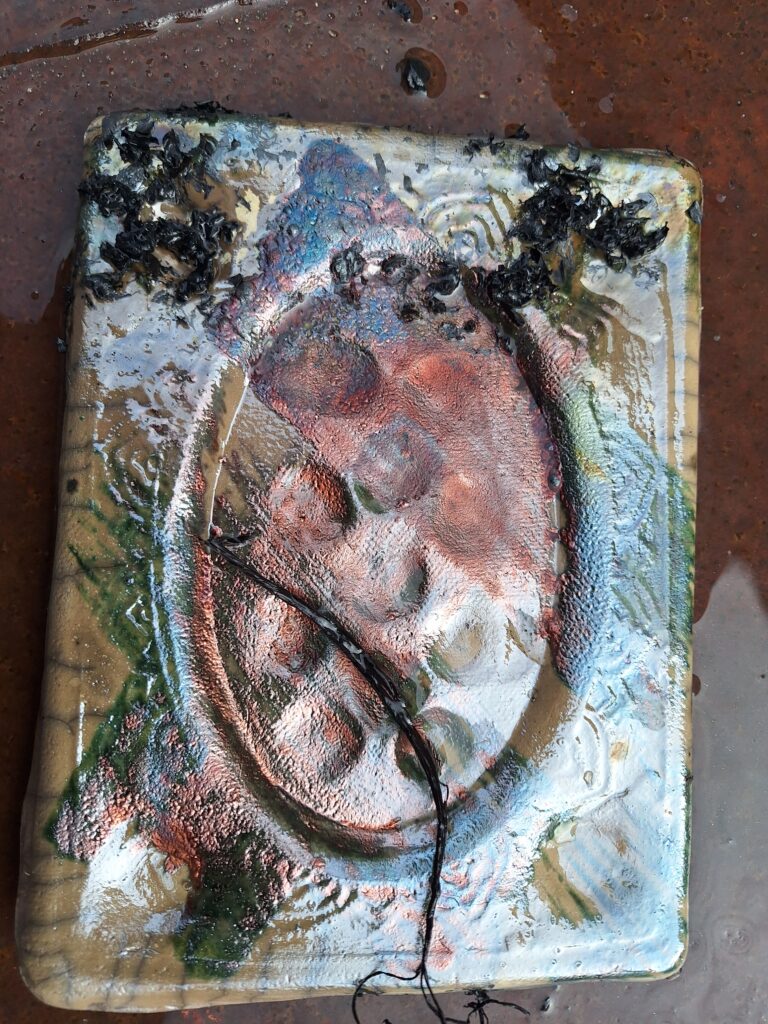
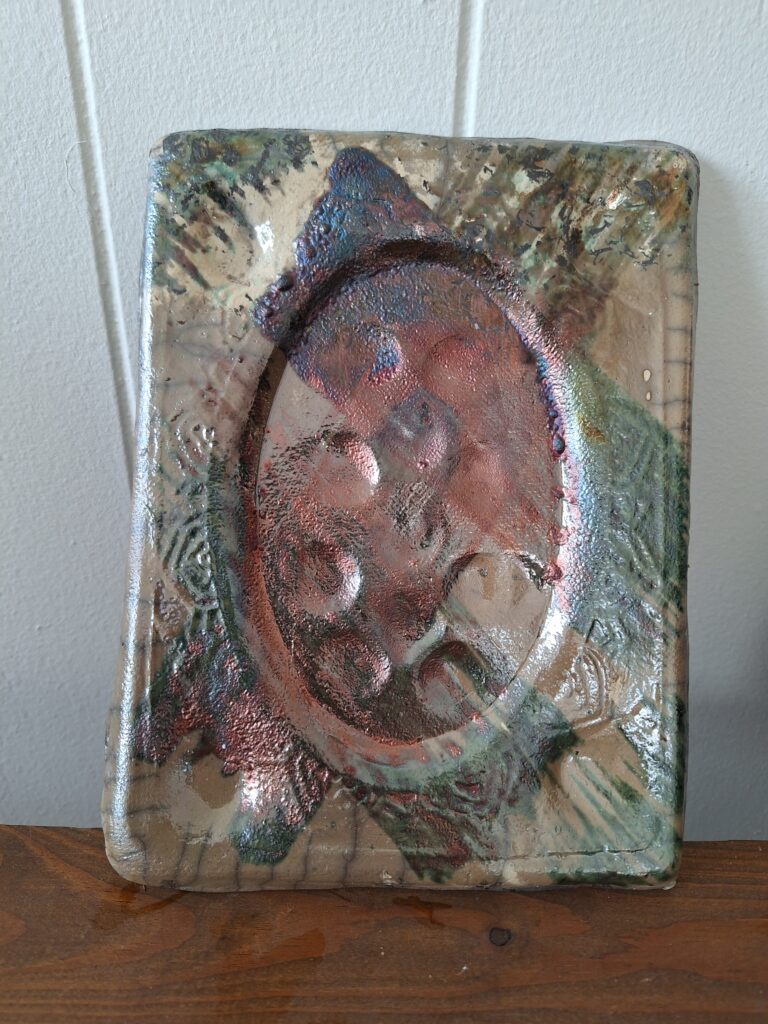
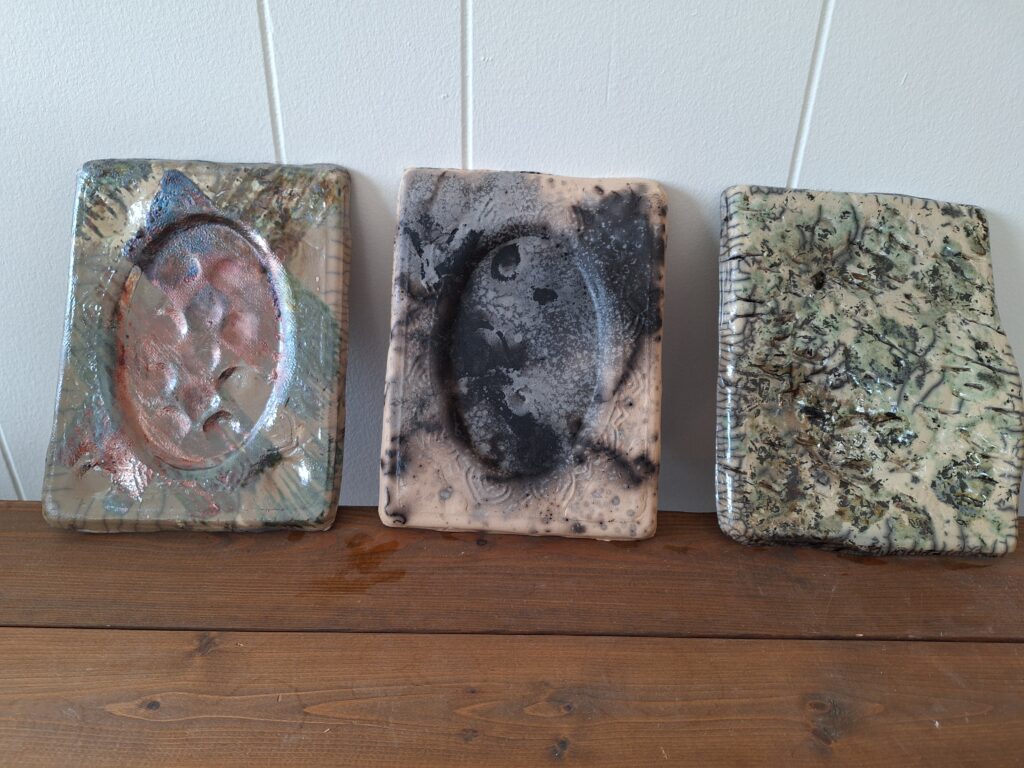
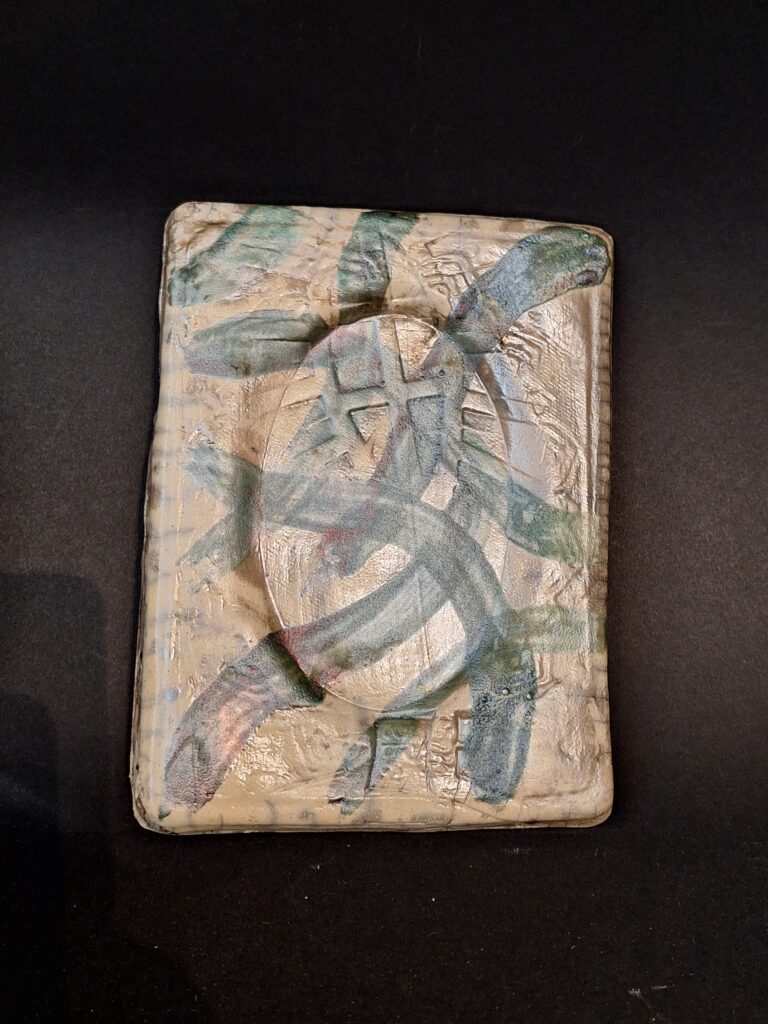
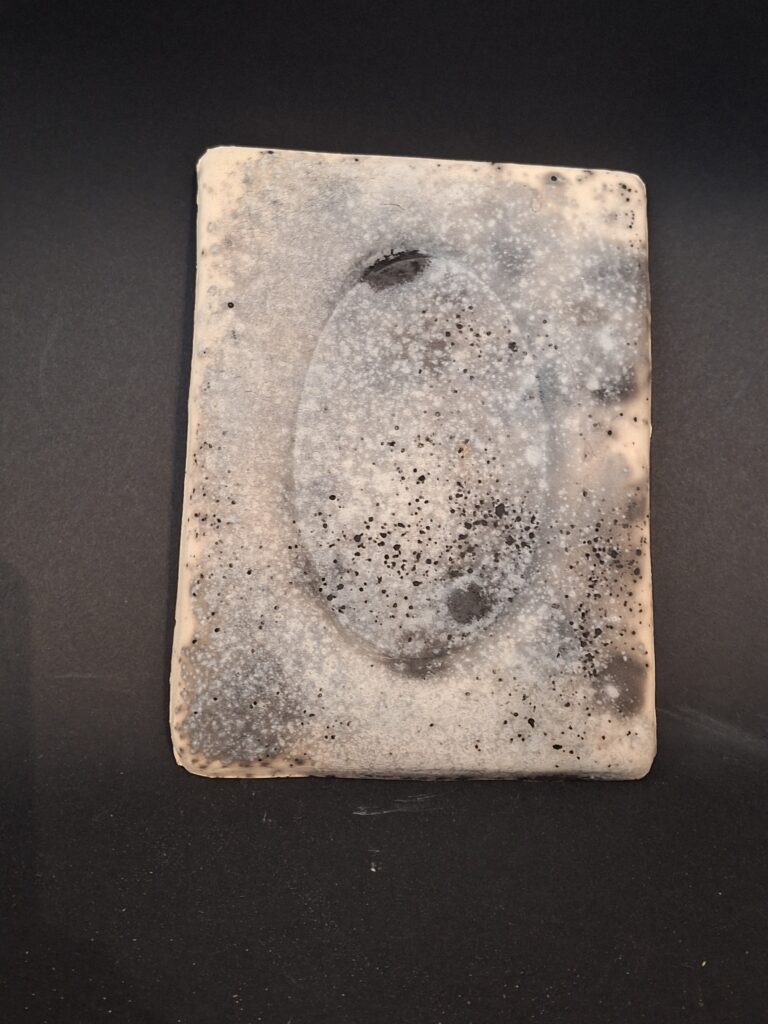
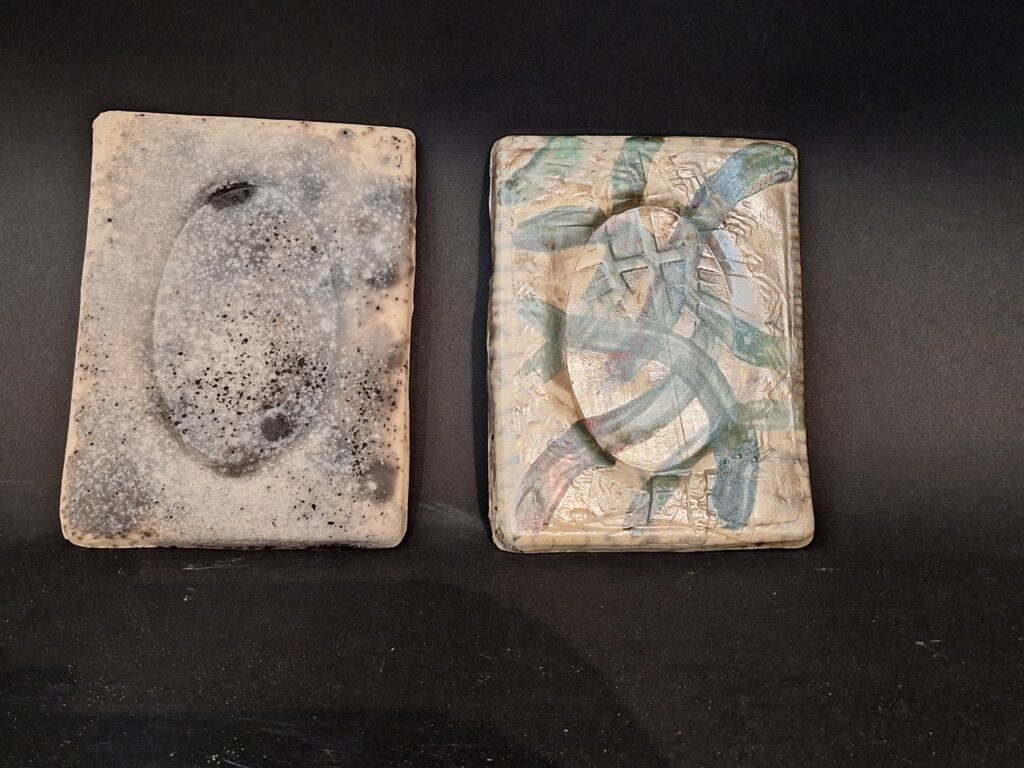
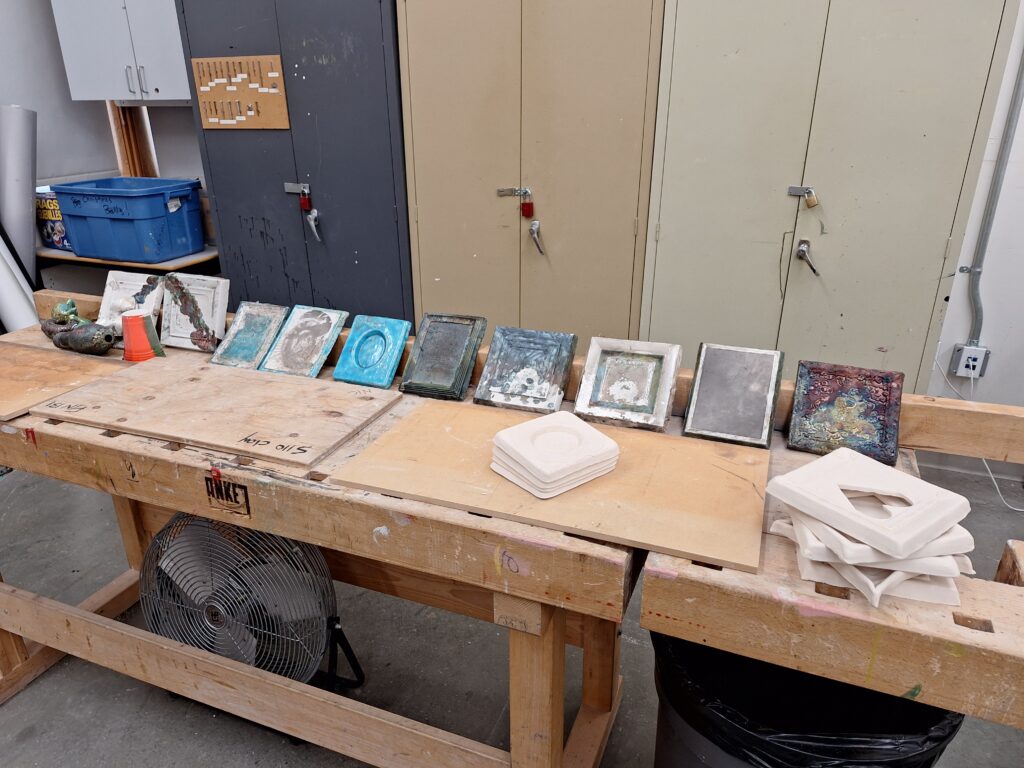
This initial array of the group’s frames is reminiscent of a quilt made the old fashioned way- from scraps of different garments.
