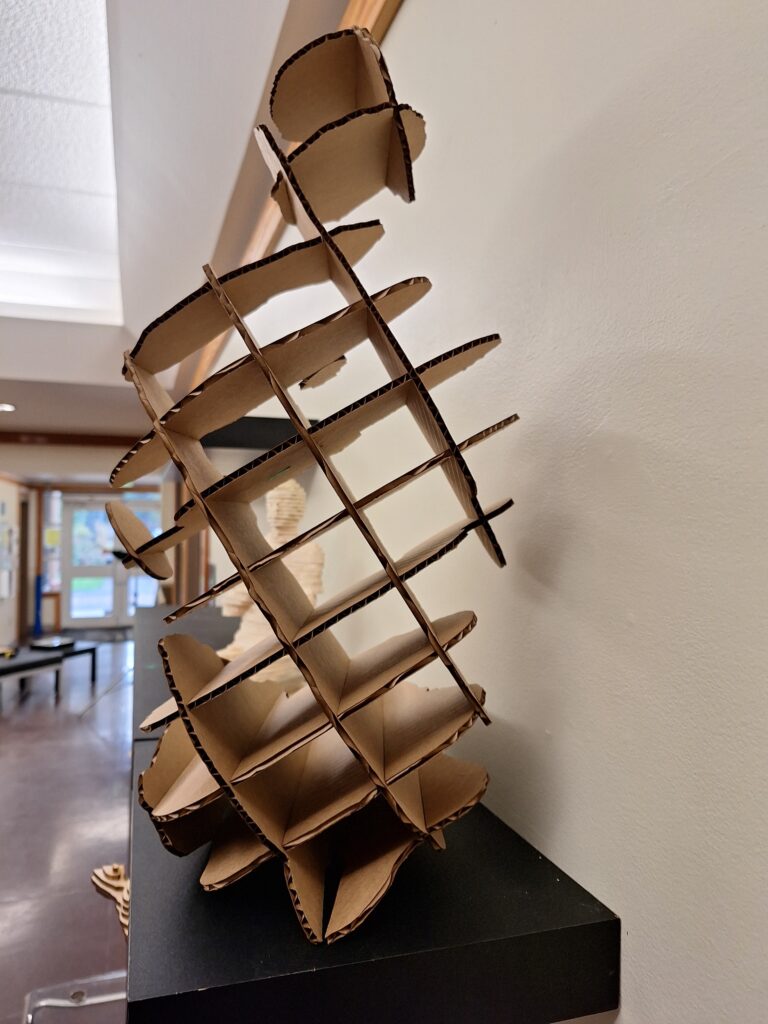
Unit 3 Assignment- Wooden Sculpture
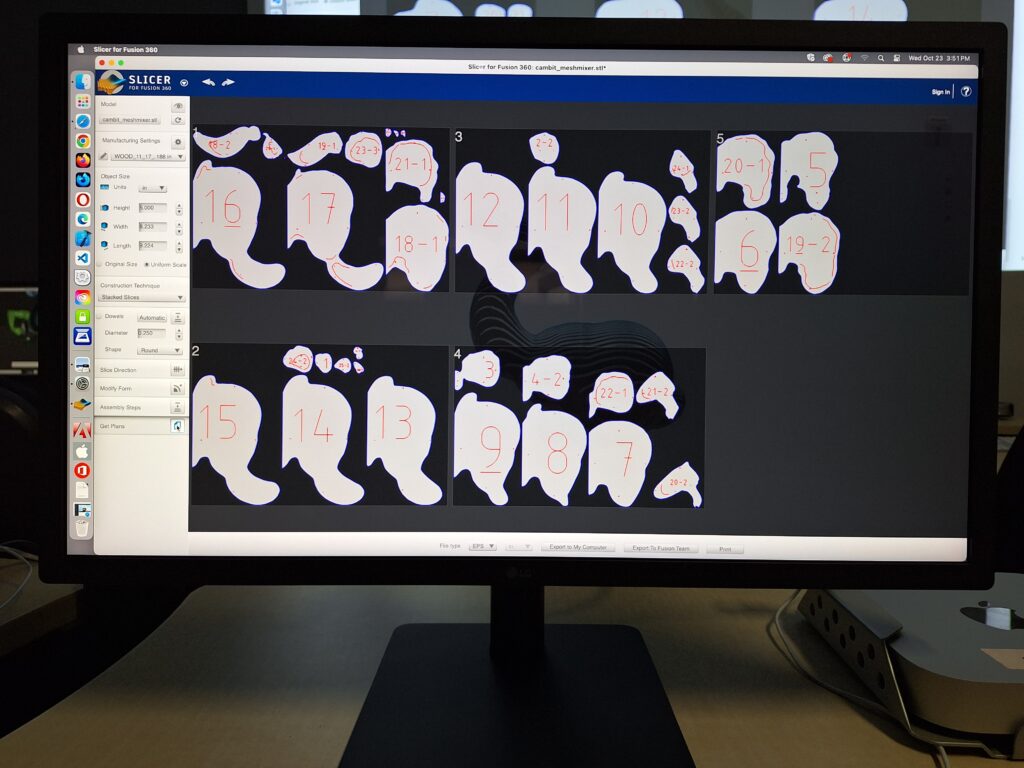
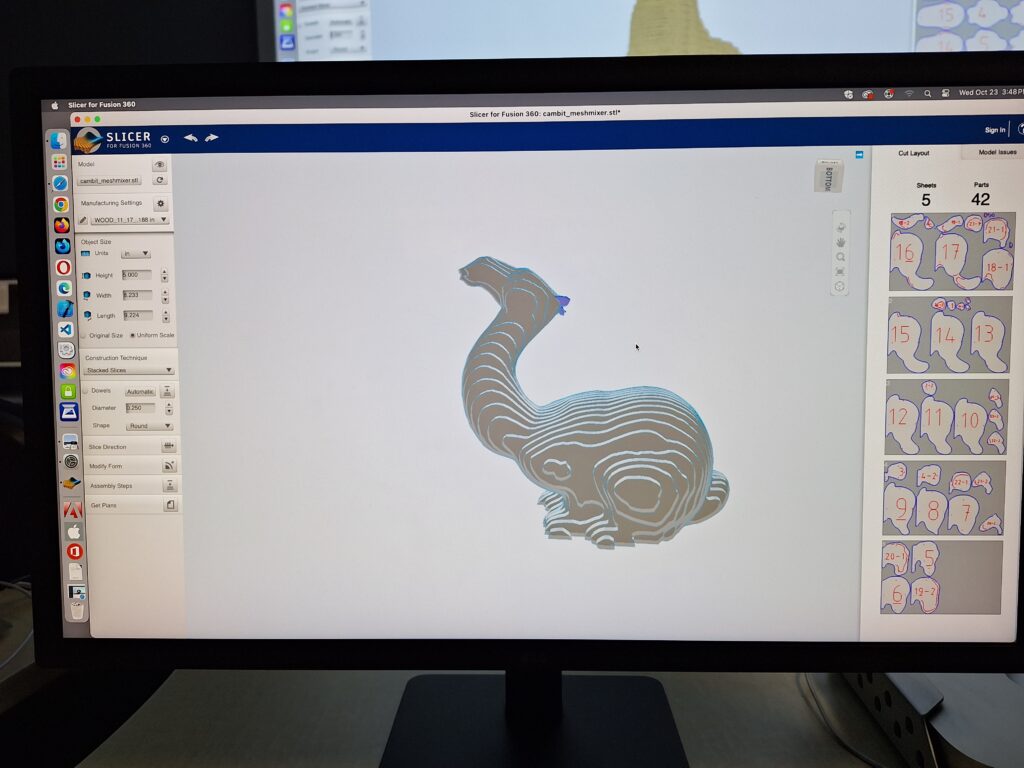
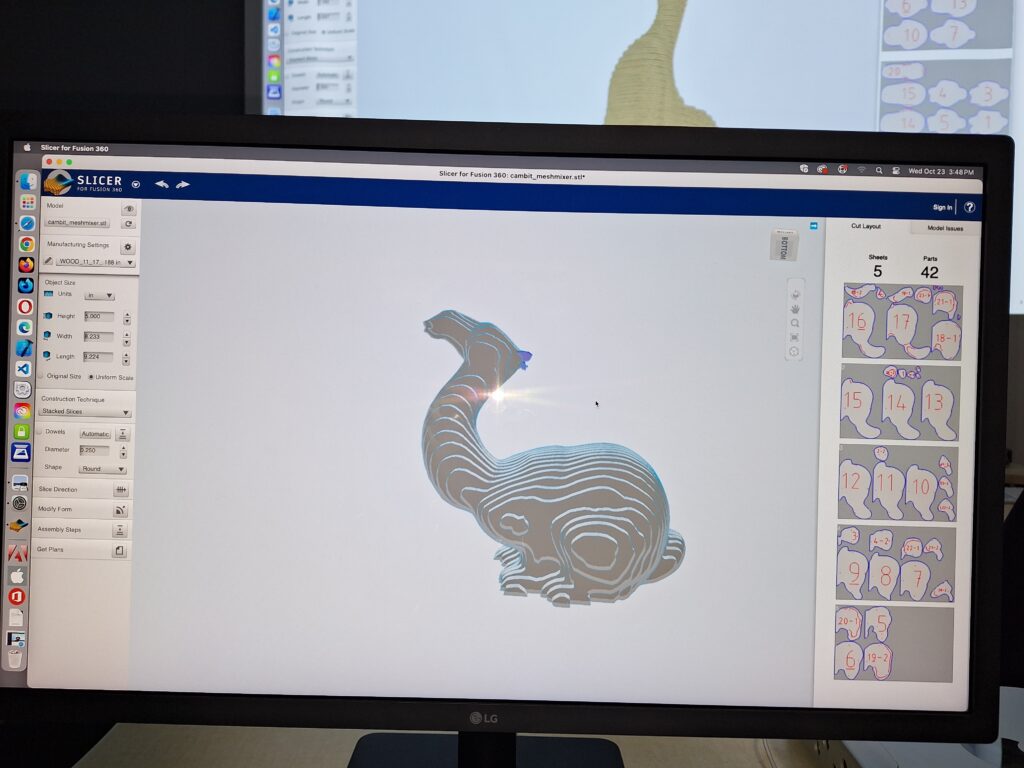
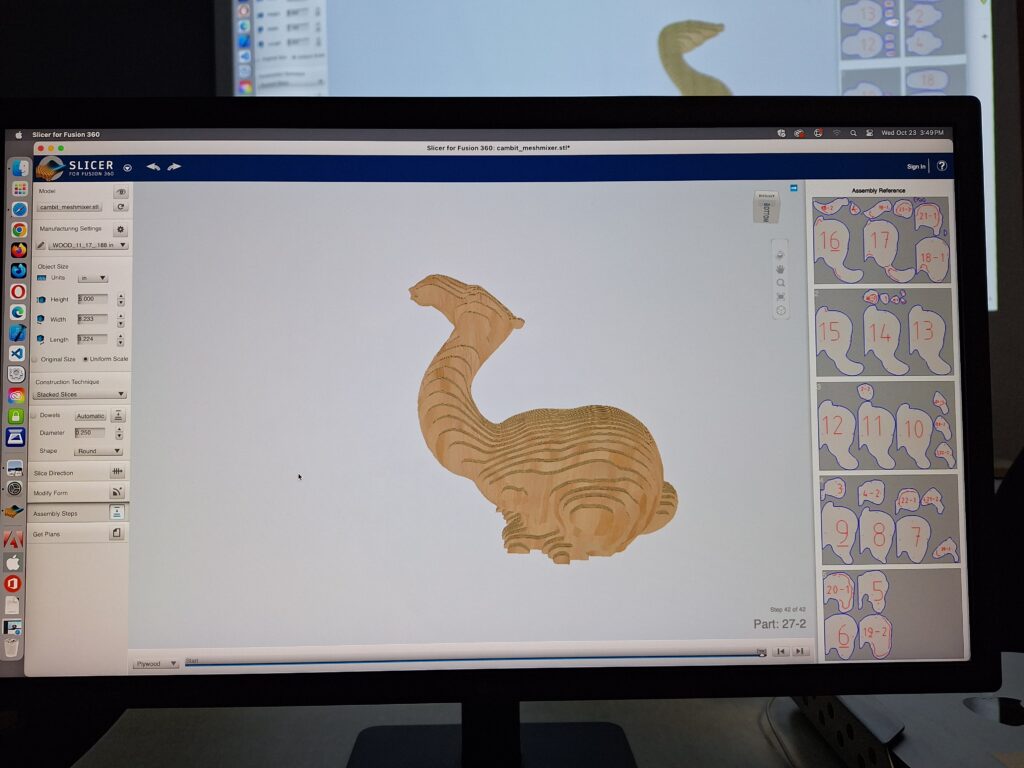
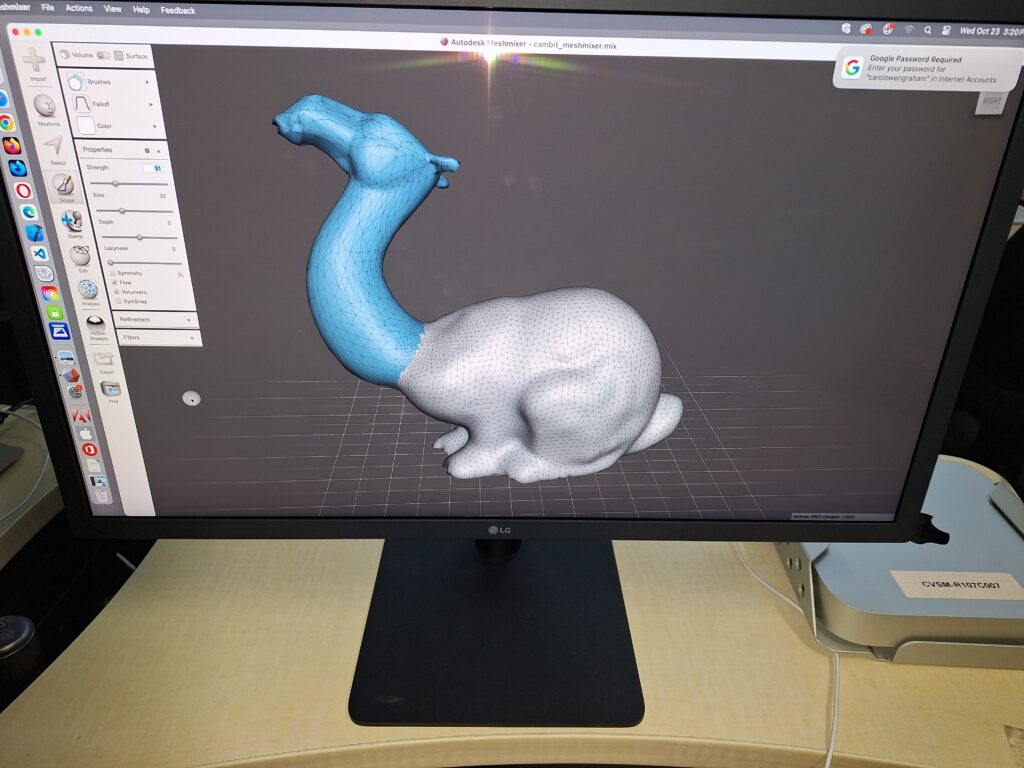
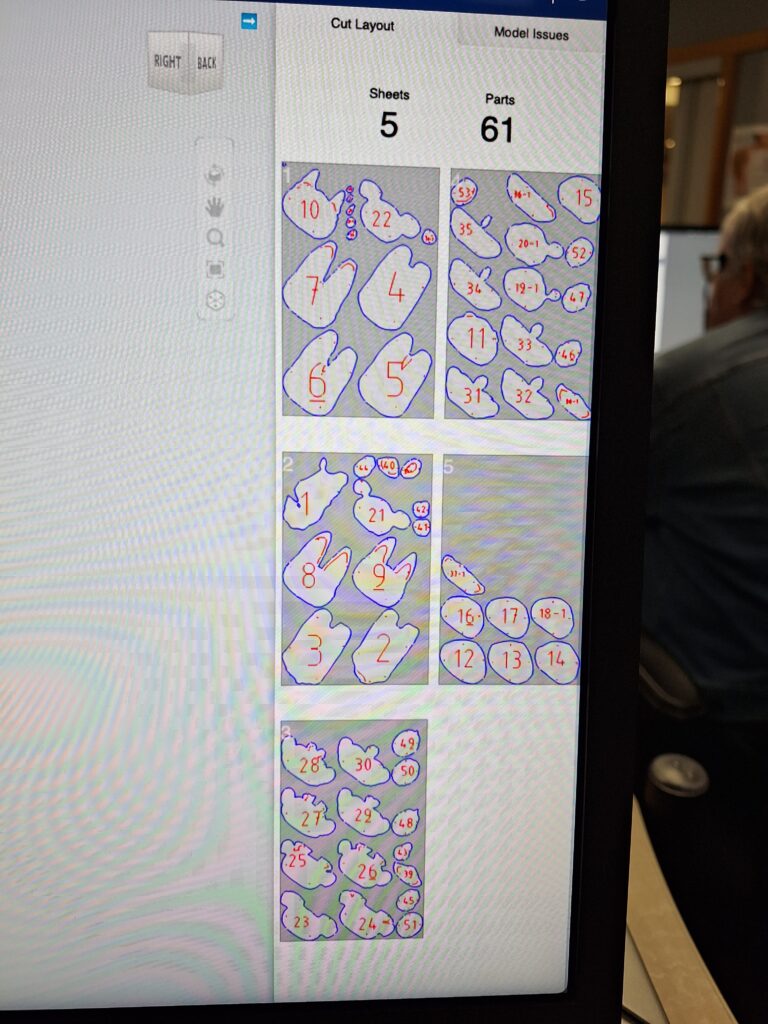
This is my first foray into Meshmixer and Slicer. I enjoyed finding out how to smooth areas of the scan and fill in the holes. It was also fun to play with slicing the 3D image. This one definitely worked best in this direction in terms of fitting it onto 4 sheets and not having a very large number of components.
I decided to use a Poly Pro scan of myself for this project and was drawn to a yoga pose to express my reflective and meditative nature. Rather than bow my head to my hands, I tilted my chin upwards in Hero pose. This allowed for more light to fall on me and so improve the chances of a comprehensive scan. Once I had processed the3D image in Meshmixer, I exported it to Slicer where it was clear right away that a horizontal slice will suit my design. That being said, I did experiment with other orientations.
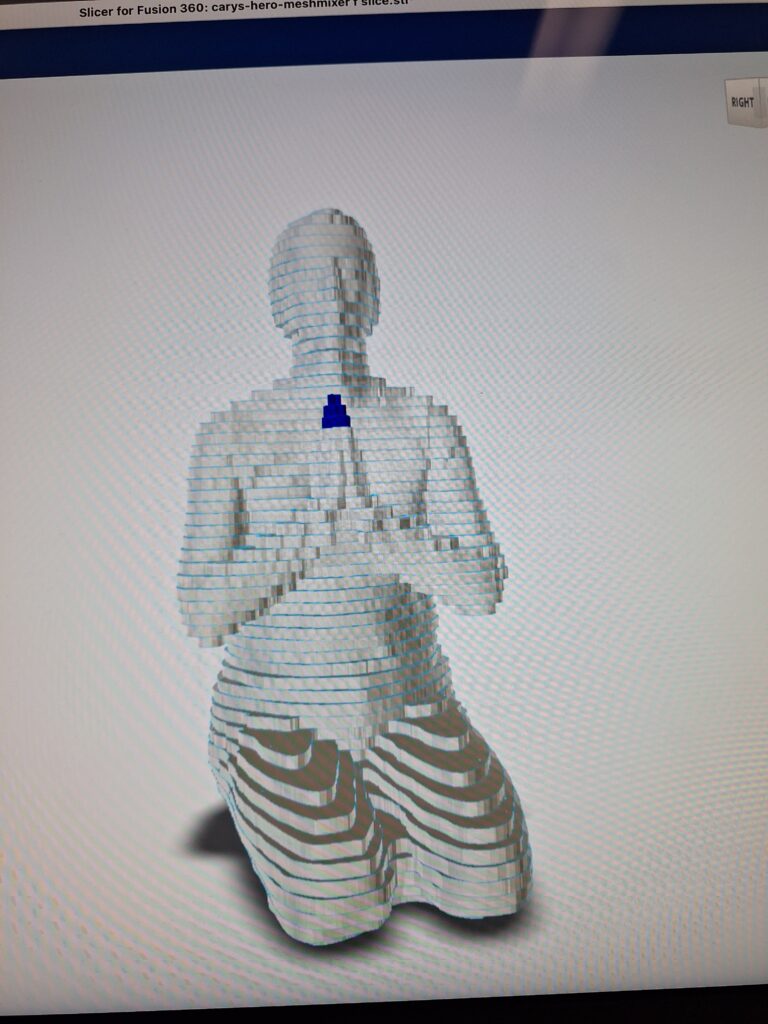
I took photos of the process along the way, in the event of the program crashing. I adjusted the object size to get the maximum use of my 4 pages (for the template). After chatting with the experts, I decided to assemble my figure on a central dowel. So this feature was added to the pattern before it went to printing. When I was tracing I place an ‘x’ on each circle for the dowel so that I would have a clear ‘target’ area for the drill bit.
My idea with the dowel is to make the sculpture interactive- so the onlooker can rotate the layers to create different appearances and forms. So often sculpture is exhibited in a ‘no touch’ environment- for understandable reasons. However, our brains and bodies are still often drawn to experience 3-D objects through touch as well as sight so I felt with this creation, I could invite touch and interaction. The horizontal slicing and central dowel put me in mind of the classic stacking toys that many children play with. Playfulness is therefore another theme of my sculpture.
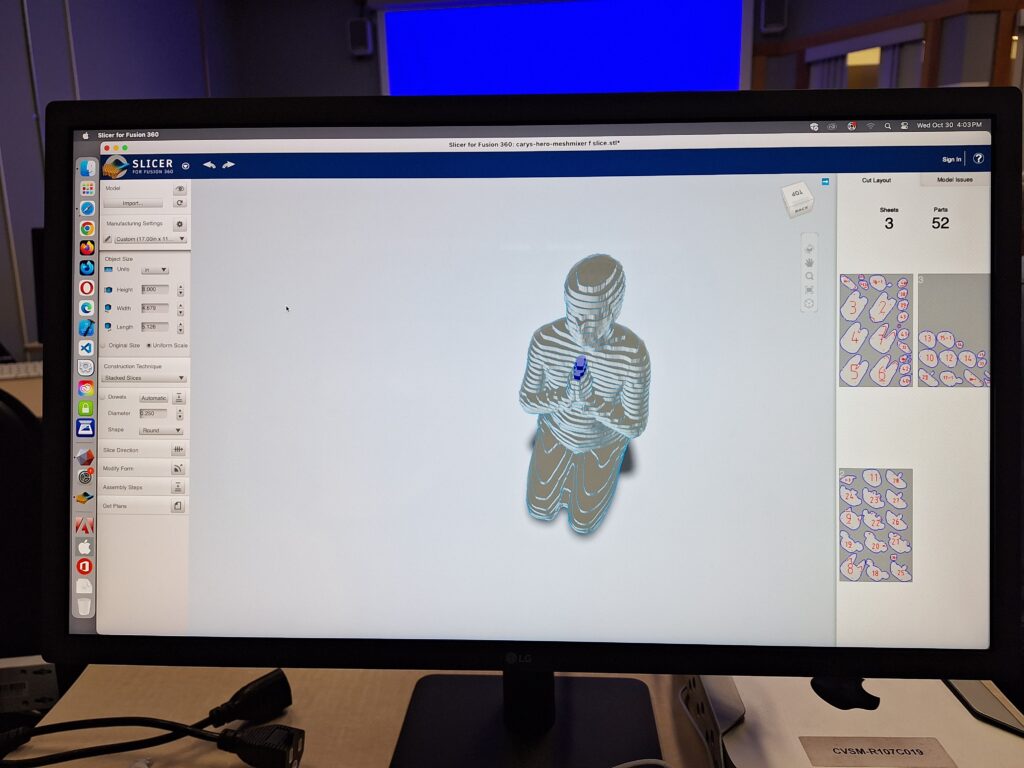
Some of the pieces required a little bit of fixing in the tracing process (e.g. one of the knees was a bit square from my meshmixer sculpting) but mostly the template was easy to trace onto the plywood.
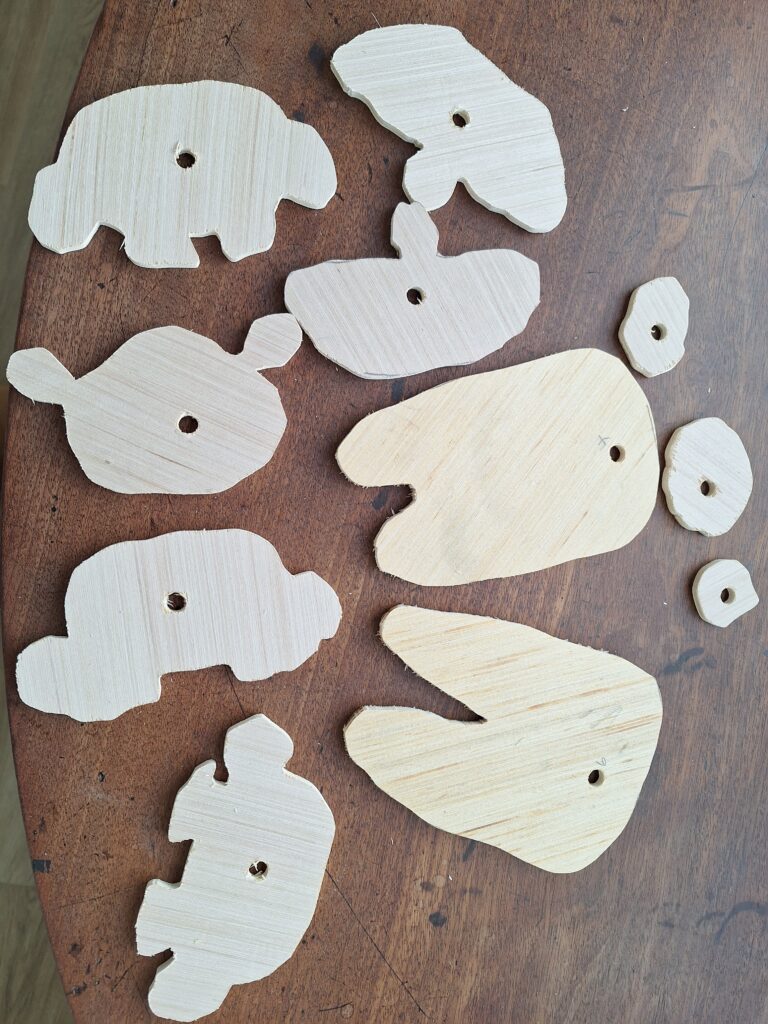
The wood shop was a great experience and I focused so much on my project and the many safety aspects that I omitted to photograph this stage. I used both the scroll saw and the band saw, as well as one of the sanders (and some hand sanding). Here are a few of the pieces- some sanded and some not yet. I numbered each with pencil so I will be able to assemble more easily.
Once sanded, I stacked the pieces without a dowel to get an idea of the shape. At this point I decided on a size and thickness of base and received some help to cut the piece of plywood that will become a plinth for the sculpture to sit upon. I used the drill press to create a hole for the dowel that goes only part way through the base. This way I can secure the dowel to the base with wood glue. My vision is to have the pieces rotate freely on the dowel to allow interaction with the figure. The top piece will also be secured with wood glue.
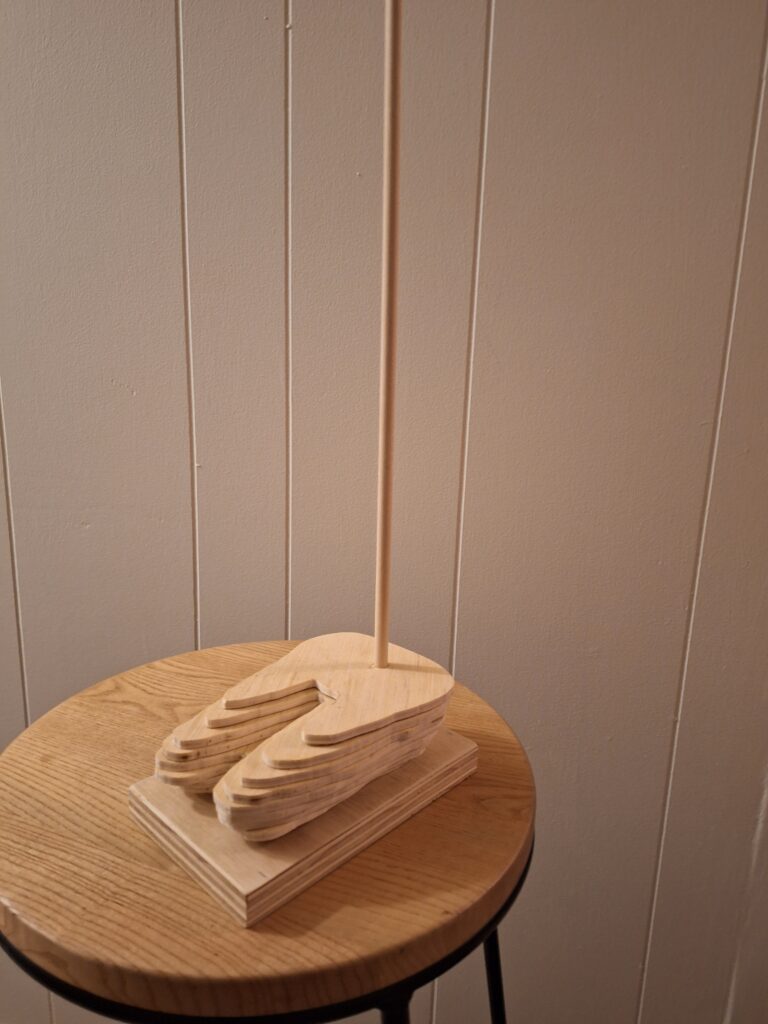
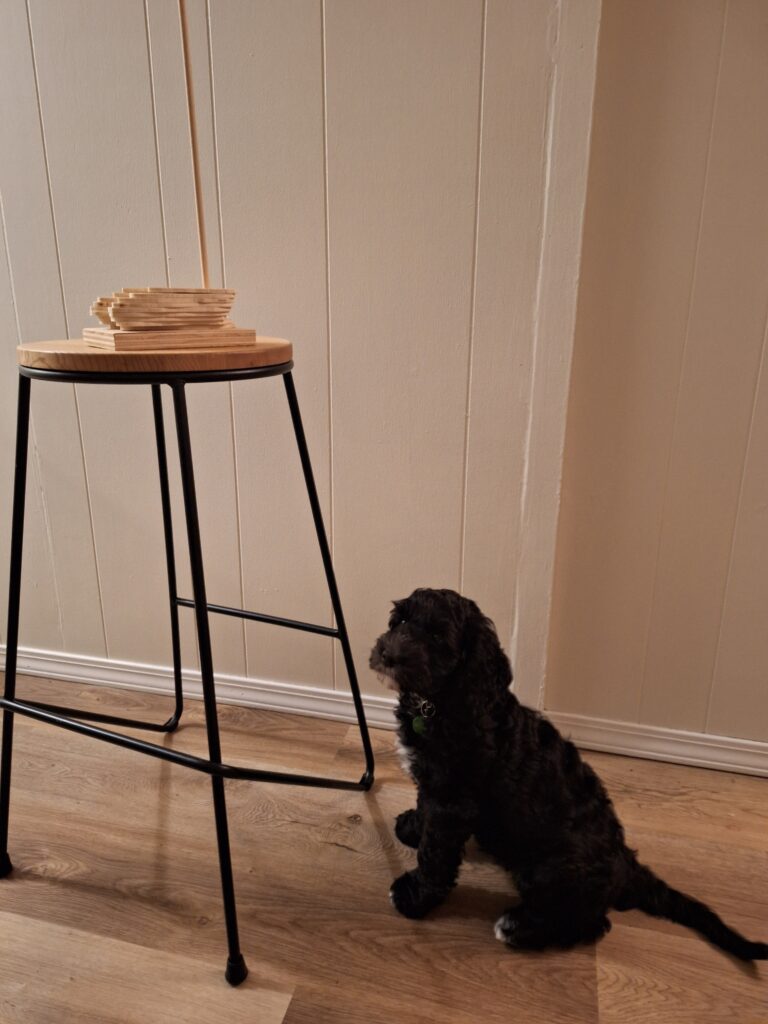
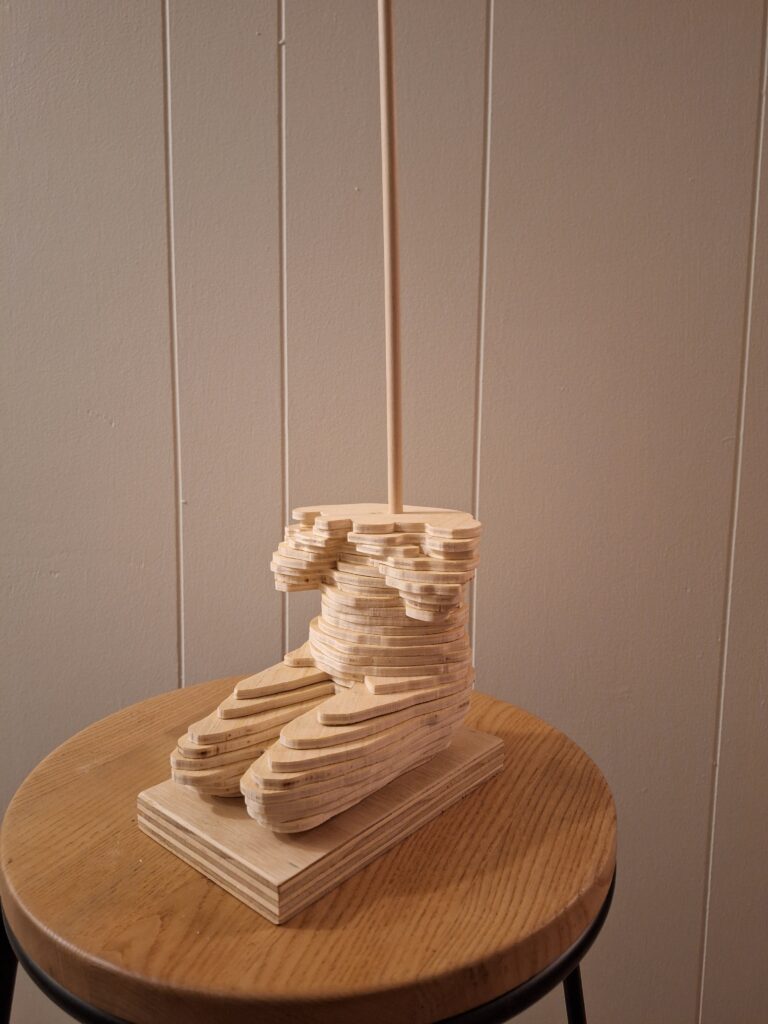
I began stacking the pieces on the dowel and found that the numbering system helped immensely. Please note my trusty assistant.
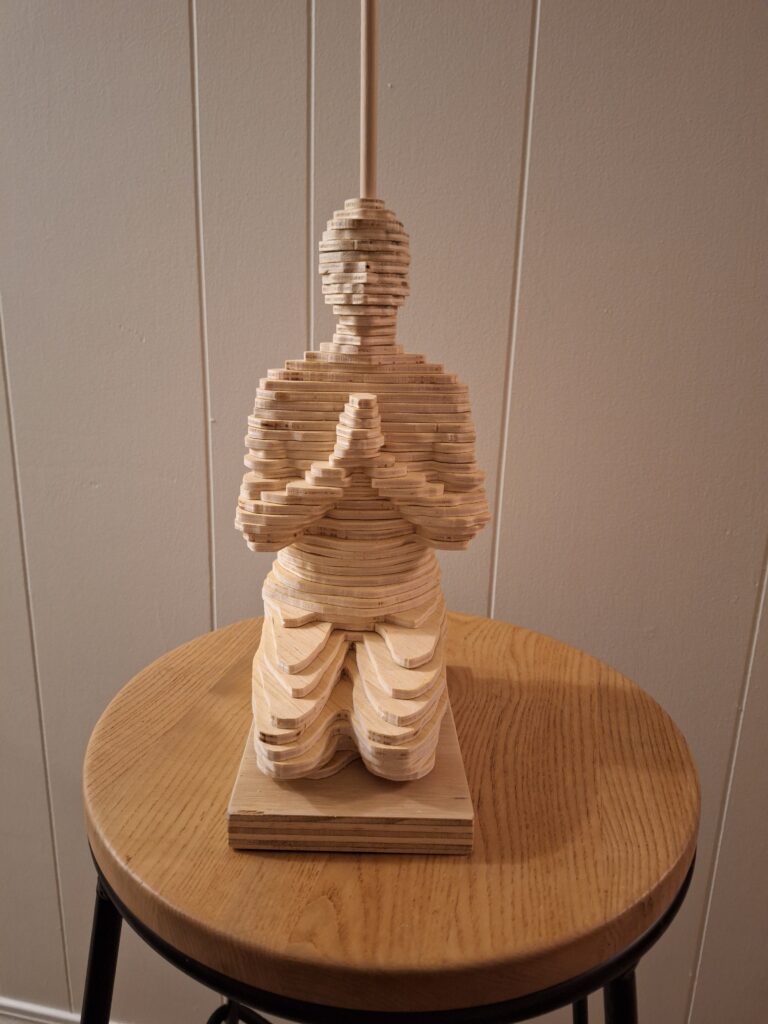
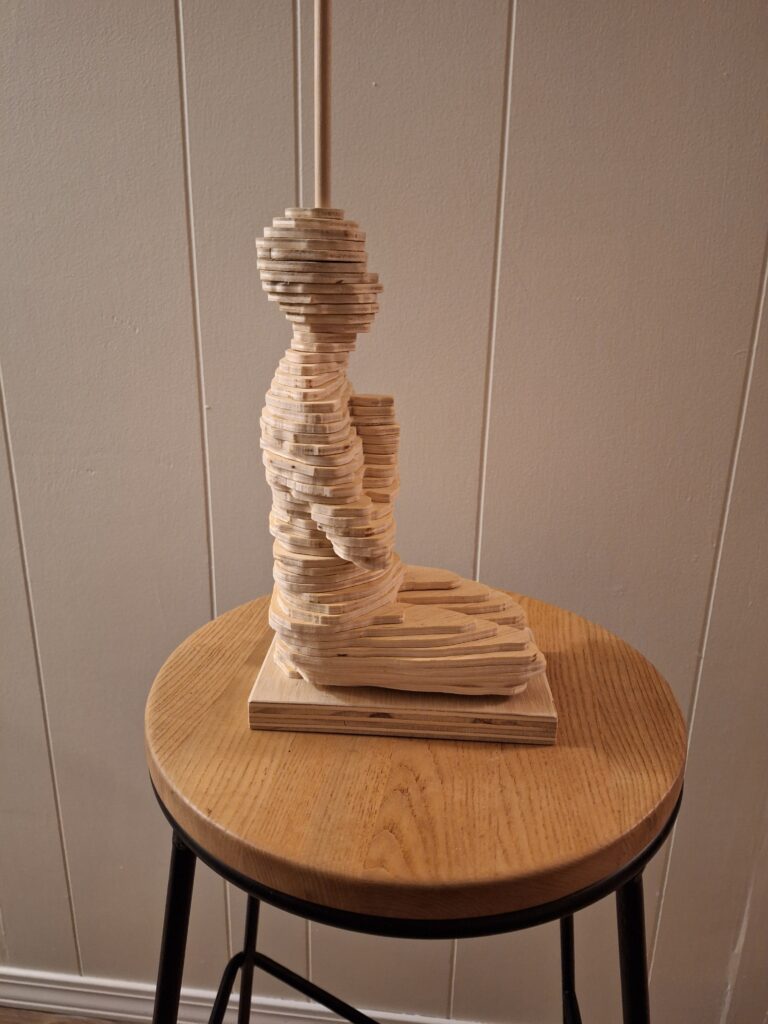
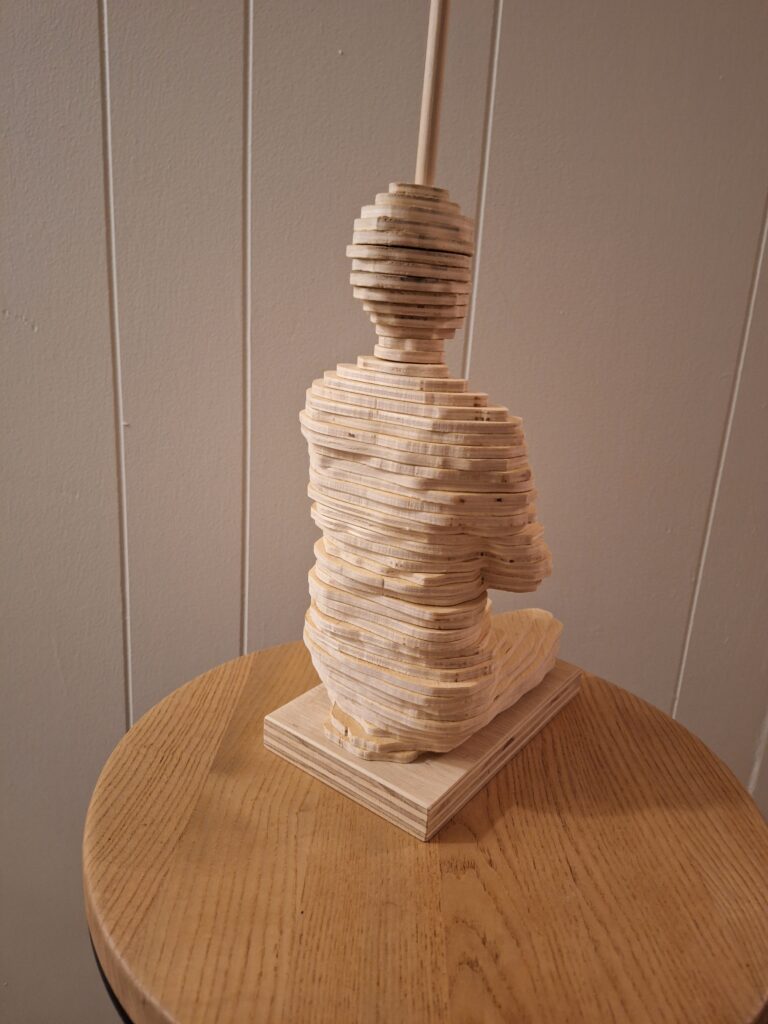
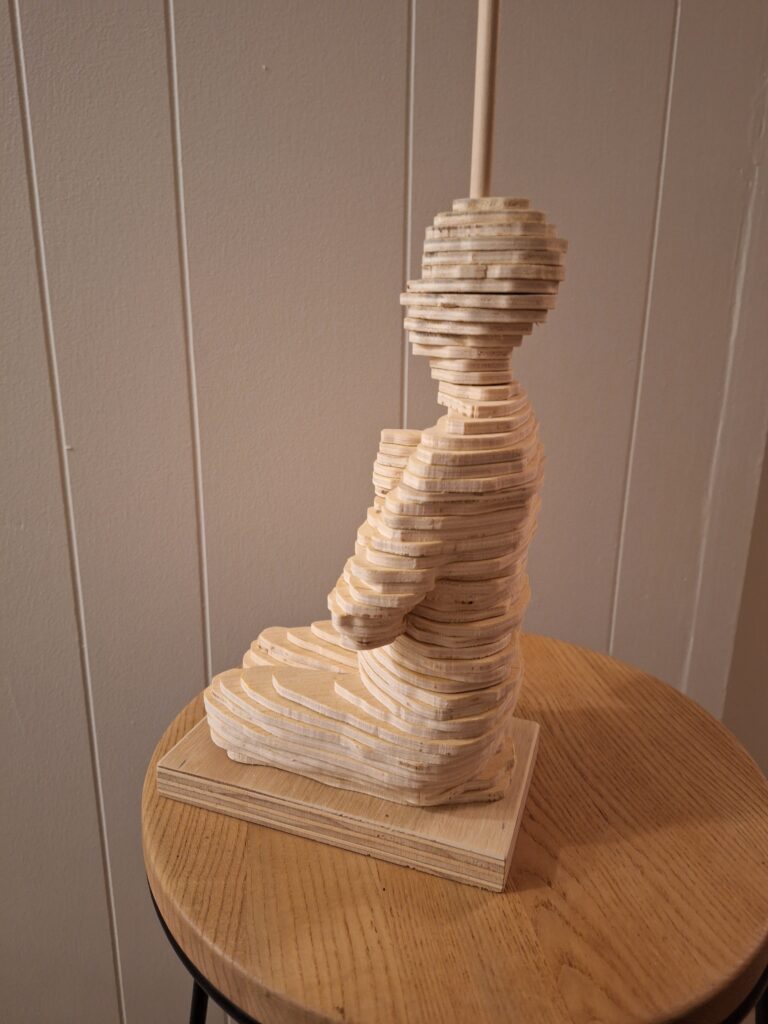
I am very satisfied with the almost finished piece. The undulations in the outline lend an organic and handmade feel to this 3D creation. It is enjoyable to play with placement of the pieces and allow the sculpture to twist around the axis. This also plays into the buddhist notion of non-permanence, which is dear to my heart.
Here are a few examples of different postures:
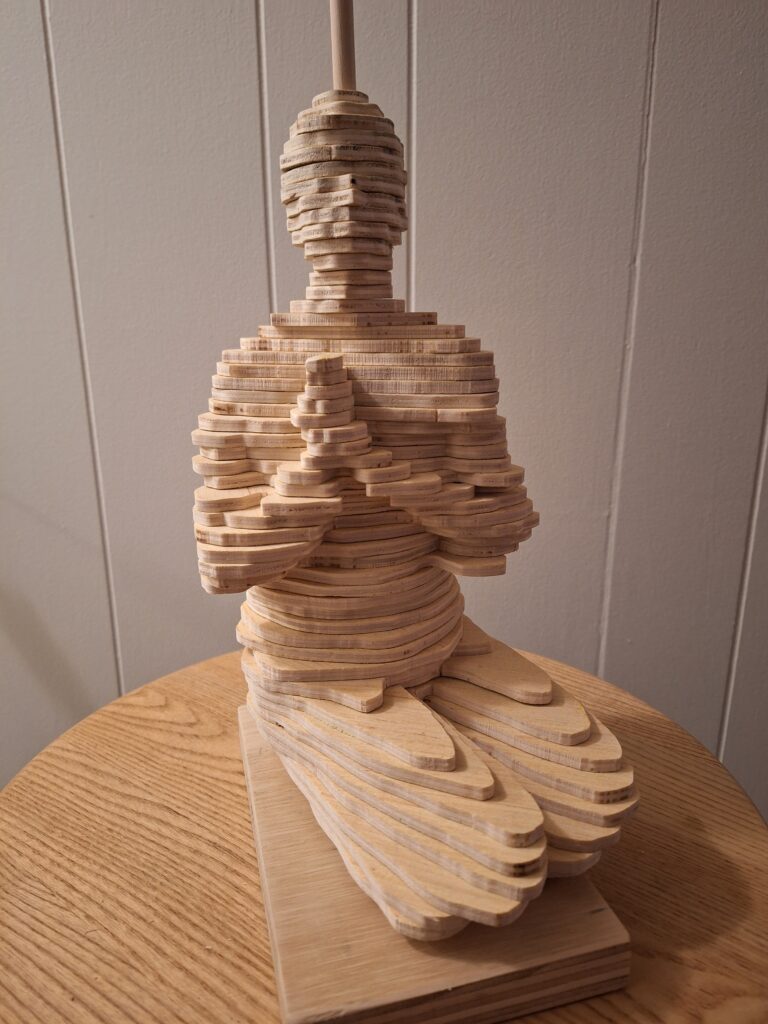
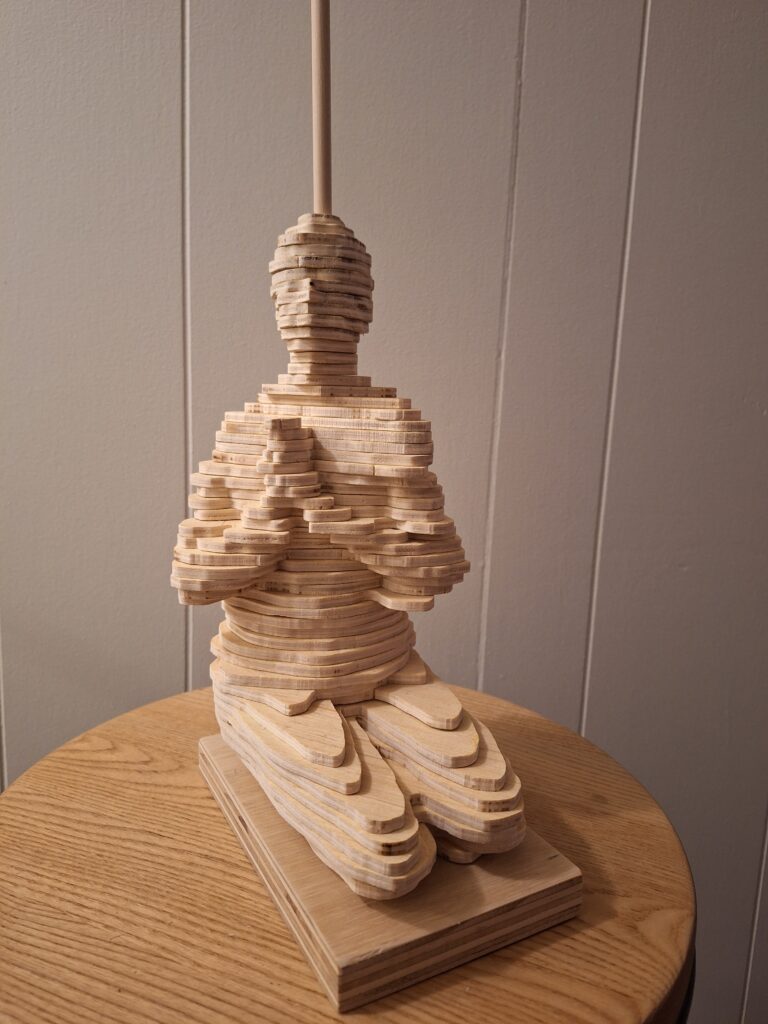
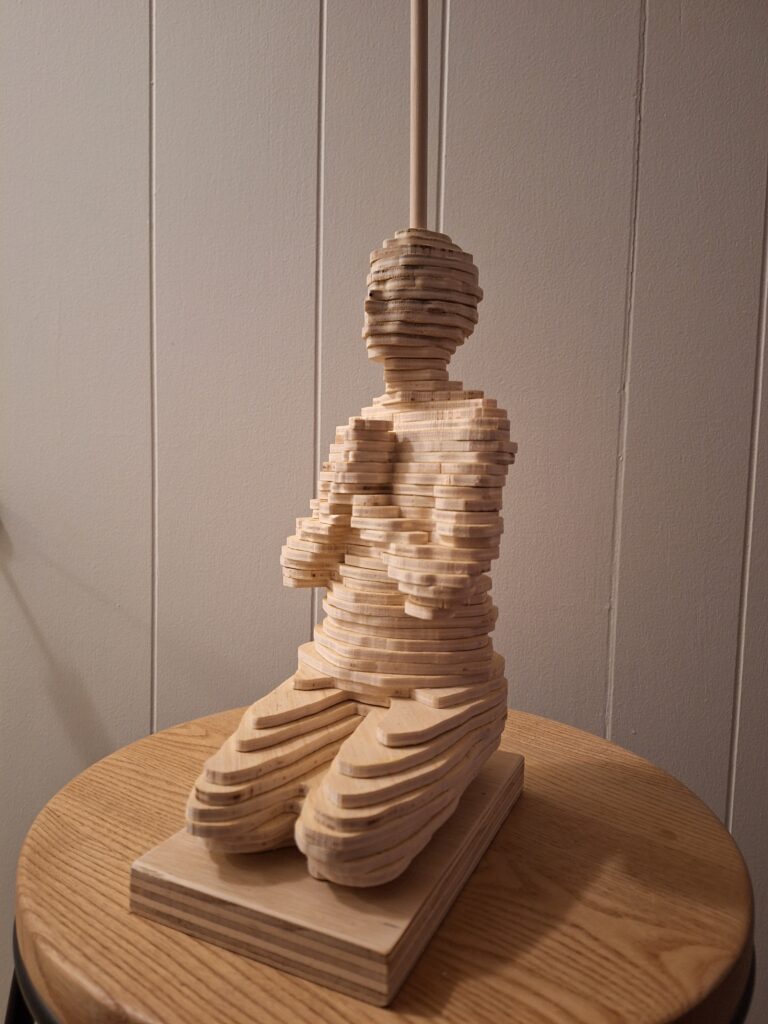
I am really looking forward to watching my classmates interact with ‘Drishti’ (the name of my sculpture). The following poem will be recorded with shutter sounds (where it says ‘click’) and presented via QR code with ‘Drishti’
Drishti
She picks a spot
click – click – click – click
on the wall
click – click – click – click
holds so still
click – click – click – click
stares at the roughness
click – click – click – click
remembers to breathe
click – click – click – click
small sips of air
click – click – click – click
head tilted upwards
click – click – click – click
gaze soft and fixed
click – click – click – click
mindful of drishti
click – click – click – click
calm on the outside
click – click – click – click
focussed on the inside
click – click – click – click
hero for a moment
click – click – click – click
no place to go
click – click – click – click
embraced by the scan
click – click – click – click
the journey begins
click – click – click – shhhhh….
By Carys Owen Graham
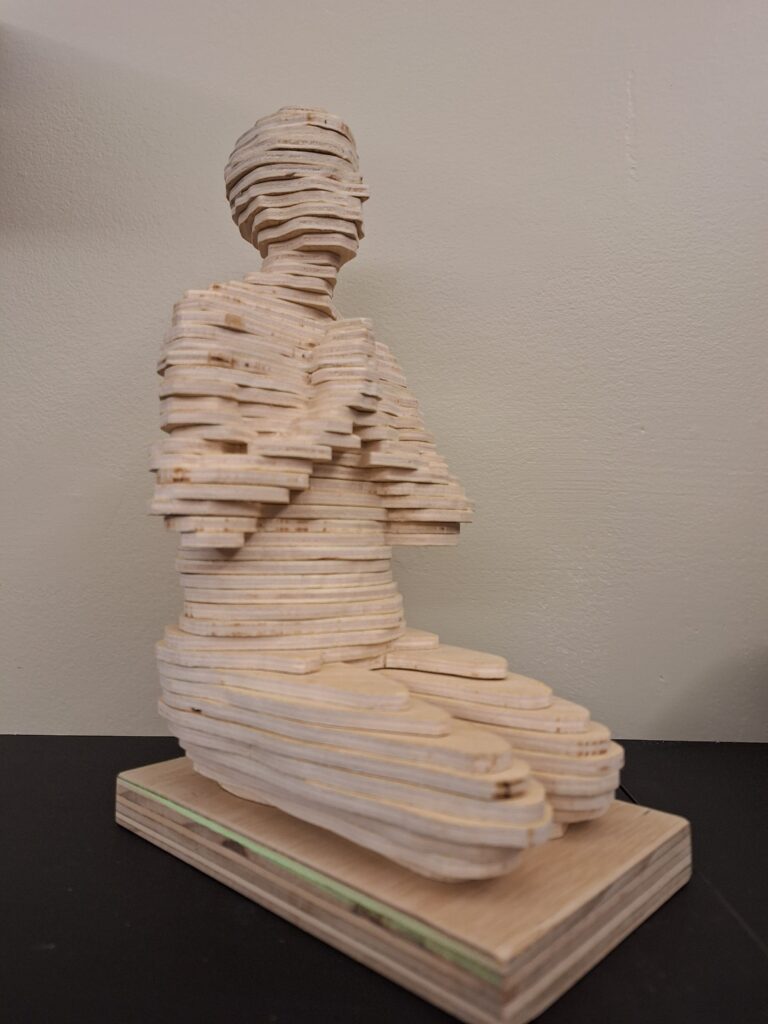
To finish my sculpture, I decided to cut the dowel flush with the top of the head and hope that the closeness of the drilled hole with the dowel plus gravity will be sufficient to keep this interactive sculpture stable (in one piece). If necessary I will add some glue but I will wait to see how it holds up to interaction with an audience.
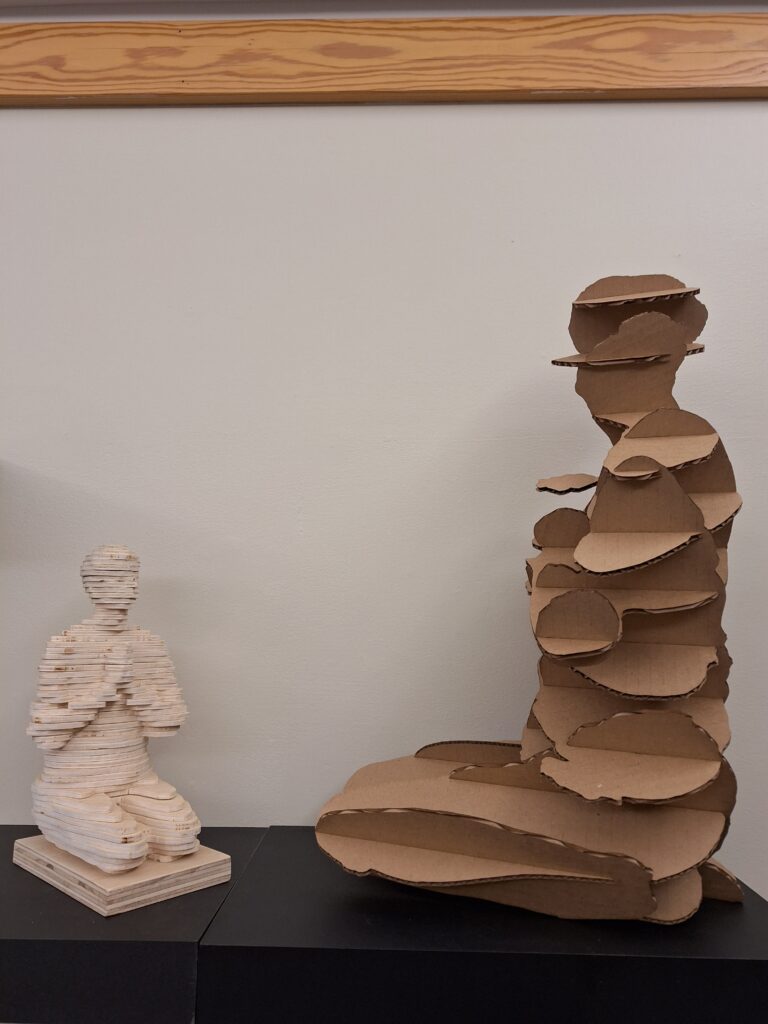
Here are both of my sculptures together
